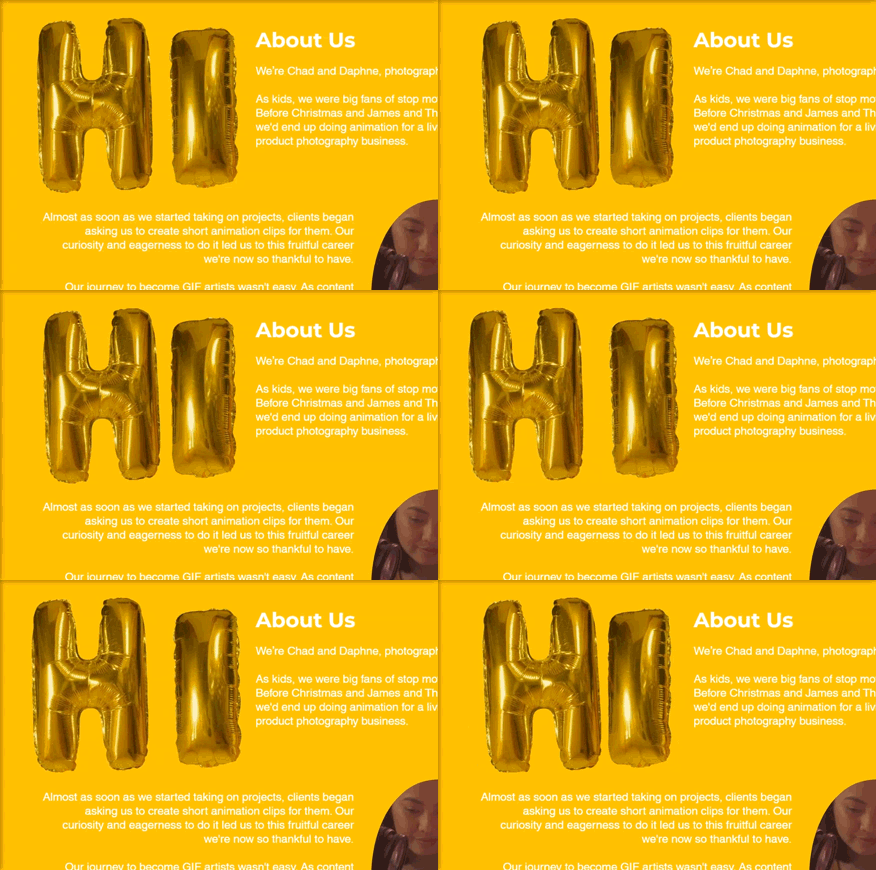
So you've probably seen these floating HI balloons on our About page. It's a great example of transparent videos that we see more of everywhere!
If you're curious about creating a transparent video and using it on your (or your client's) website, we'll show you how to do it in both video and GIF format.

Transparent GIFs/Videos are perfect for:

Websites
These loopable animations make your webpage much more fun to browse.
Instagram stickers
Upload your very own personal stickers you can use on Instagram and other social media platforms.
Video composites
With transparent videos and GIFs, you don't need to remove the greenscreen every time anymore.
Shooting a Transparent GIF/Video
To create a transparent video, you'll need to shoot your animation against a blue or green background.

Why? Because you'll need to erase that background in post later. That way, people will see whatever is behind the object you animated.
When shooting animation for a transparent video, you must always keep it simple and limit the action.
Transparent videos are often used to decorate a webpage. So it would be best if you didn't make your animation too distracting. So try to keep everything short and simple.
It would also help a lot if you made your transparent video loopable. That way, it would appear continuously moving (and consequently less distracting).
Exporting a Transparent Animation in Video Format (with Adobe Premiere)
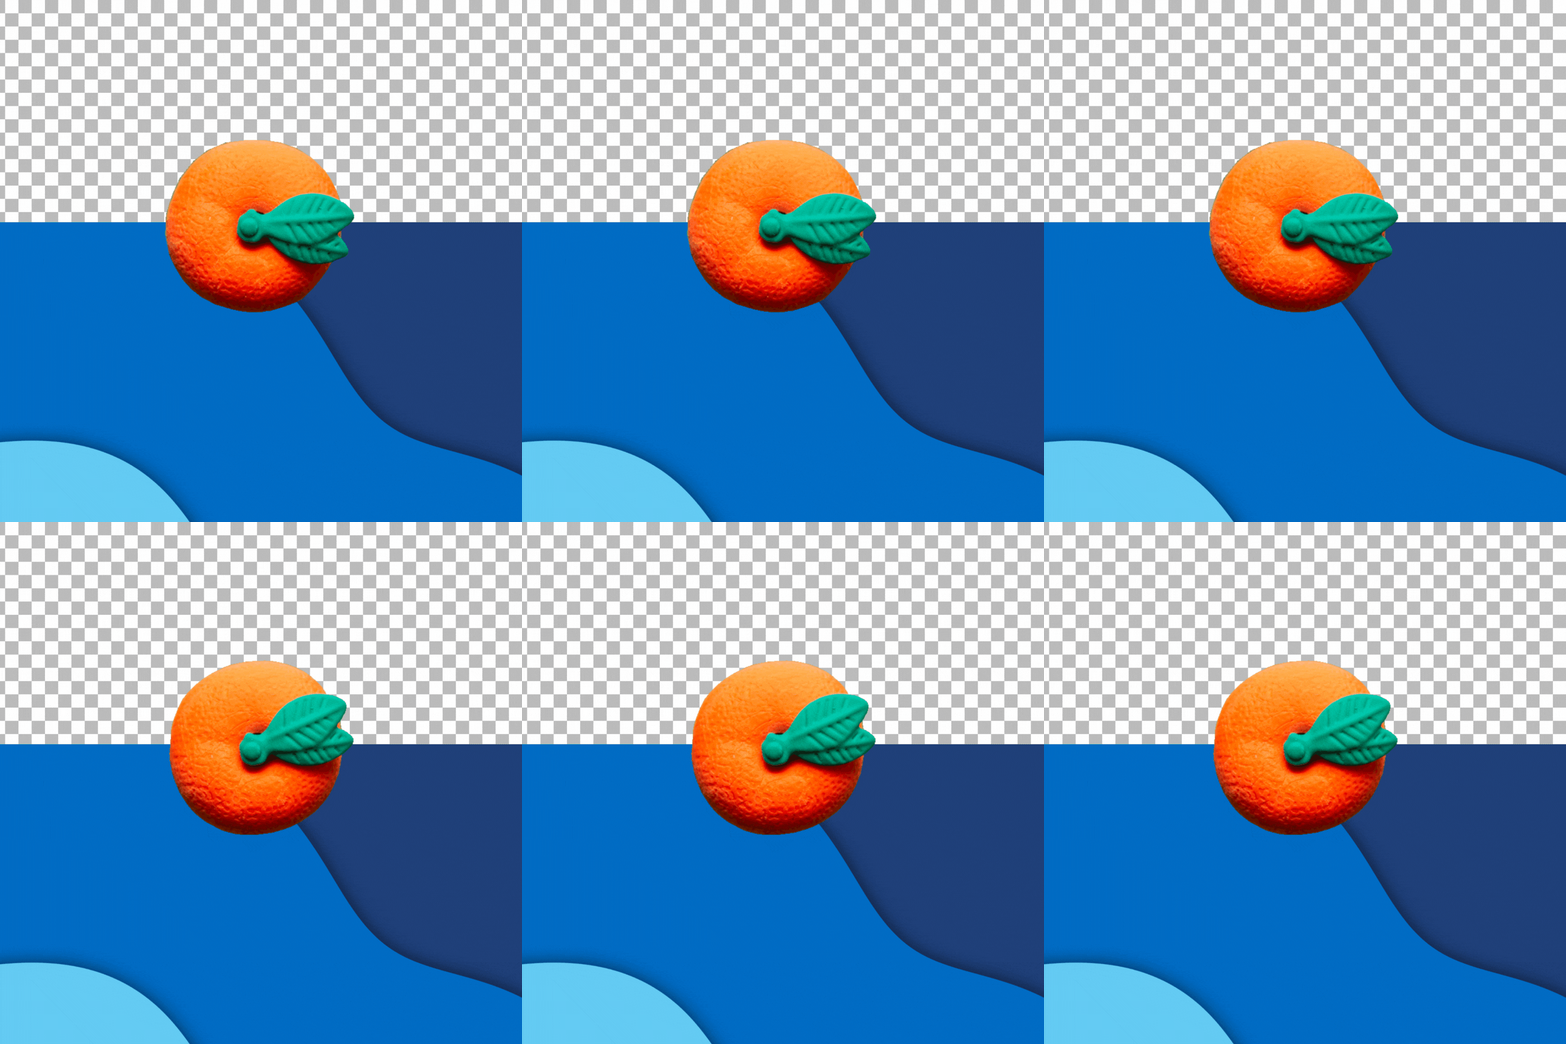
For the most part, editing transparent animation is the same as simply removing the green screen. The only difference is the export settings.
We recommend reading this article if you need help or want to learn more about using the green screen.
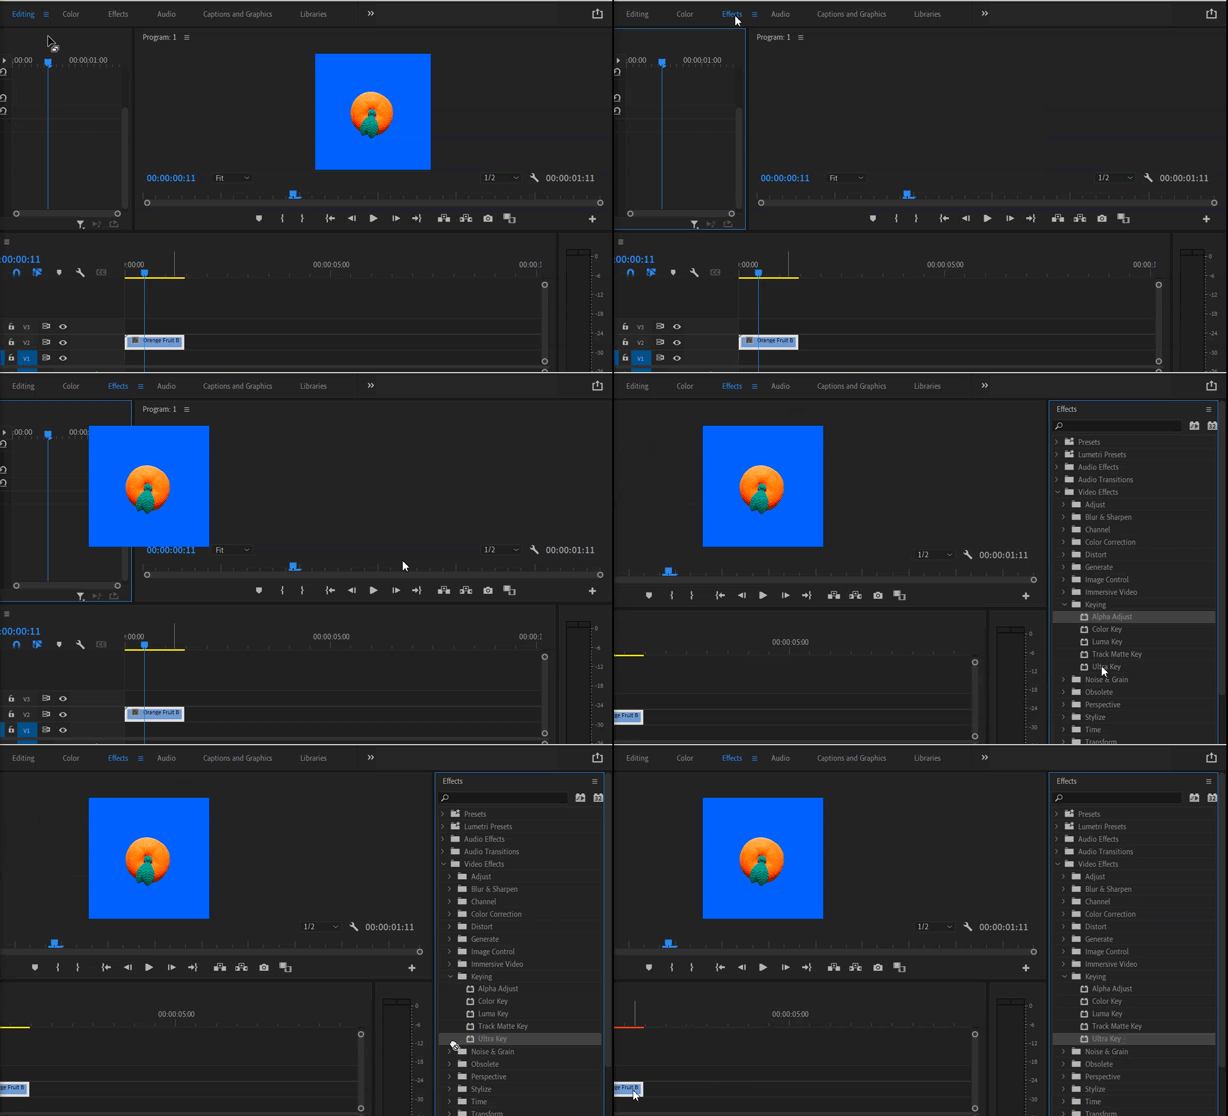
Step 1: Load the animated video (with green or blue background for keying) into the timeline. Go to Effects, select and drag Ultra Key onto the clip in the timeline. At this point, don't expect anything to happen yet.

Step 2: Go to the Editing tab, and click Effect Controls. Under Ultra Key, go to Key Color, select the eye dropper tool and click on the color in the video clip you want to remove (in our case, the blue screen).

If you do it properly, you should see the blue screen turn black. That only means that the background is now transparent.
Step 3: Go to File > Export > Media.

Step 4: Once the dialog box opens, change your Format to Quicktime and Preset to Gopro Cineform RGB 12-bit with Alpha.

In the same dialog box, scroll down, look for Basic Video Settings, and adjust the Quality from 4 to 5. Next, check Use Maximum Render Quality and select Optical Flow for Time Interpolation to create the smoothest results.

*Note*
The GoPro Cineform preset requires a particular codec to play on either Mac or PC. So don't be surprised if you can't play your video on your computer.
If you want to make sure it works, open the File in Premiere and try to place another video clip beneath your transparent video. You'll know you're successful if you see the other clip behind your animation.
You can also upload your File to your website and check if the background shows!
Converting a Transparent Video into a Transparent GIF with Photoshop
Now, what happens then if, for some reason, your transparent video isn't working on your website? Then consider converting it into a GIF file using Photoshop!
Step 1: To convert your video file into a GIF, you'll need to start with Adobe Premiere.
First, go to File > Export > Media. Once the dialog box appears, go to Format and select PNG. For your Preset, select PNG with Alpha.

Once you hit Save, Premiere will save the video as individual frames.
Step 2: Click the Open button in Photoshop and find the PNG frames you saved from Premiere. Select the first frame, check Image Sequence, and select Open.

Step 3: After you click Open, a dialog box for frame rate will appear. Choose the appropriate frame rate for your animation (if you animated at 12 frames, choose12, etc.)

Step 4: Once the clip loads into Photoshop, go to File> Export > Save for Web (Legacy).

Step 5: Once a dialog box opens, ensure the settings are correct. Check if the Format is GIF and that Transparency is checked.

You should also check the Image Size and make sure the height and width don't exceed 2000px. If it does, readjust it so the longest side is about 1000px or lower. In most cases, 500px would suffice for average use.
Once you finish checking the settings, click Save, and you got yourself a transparent GIF! Upload it to your (or your client's) website, which should work much like a sticker.
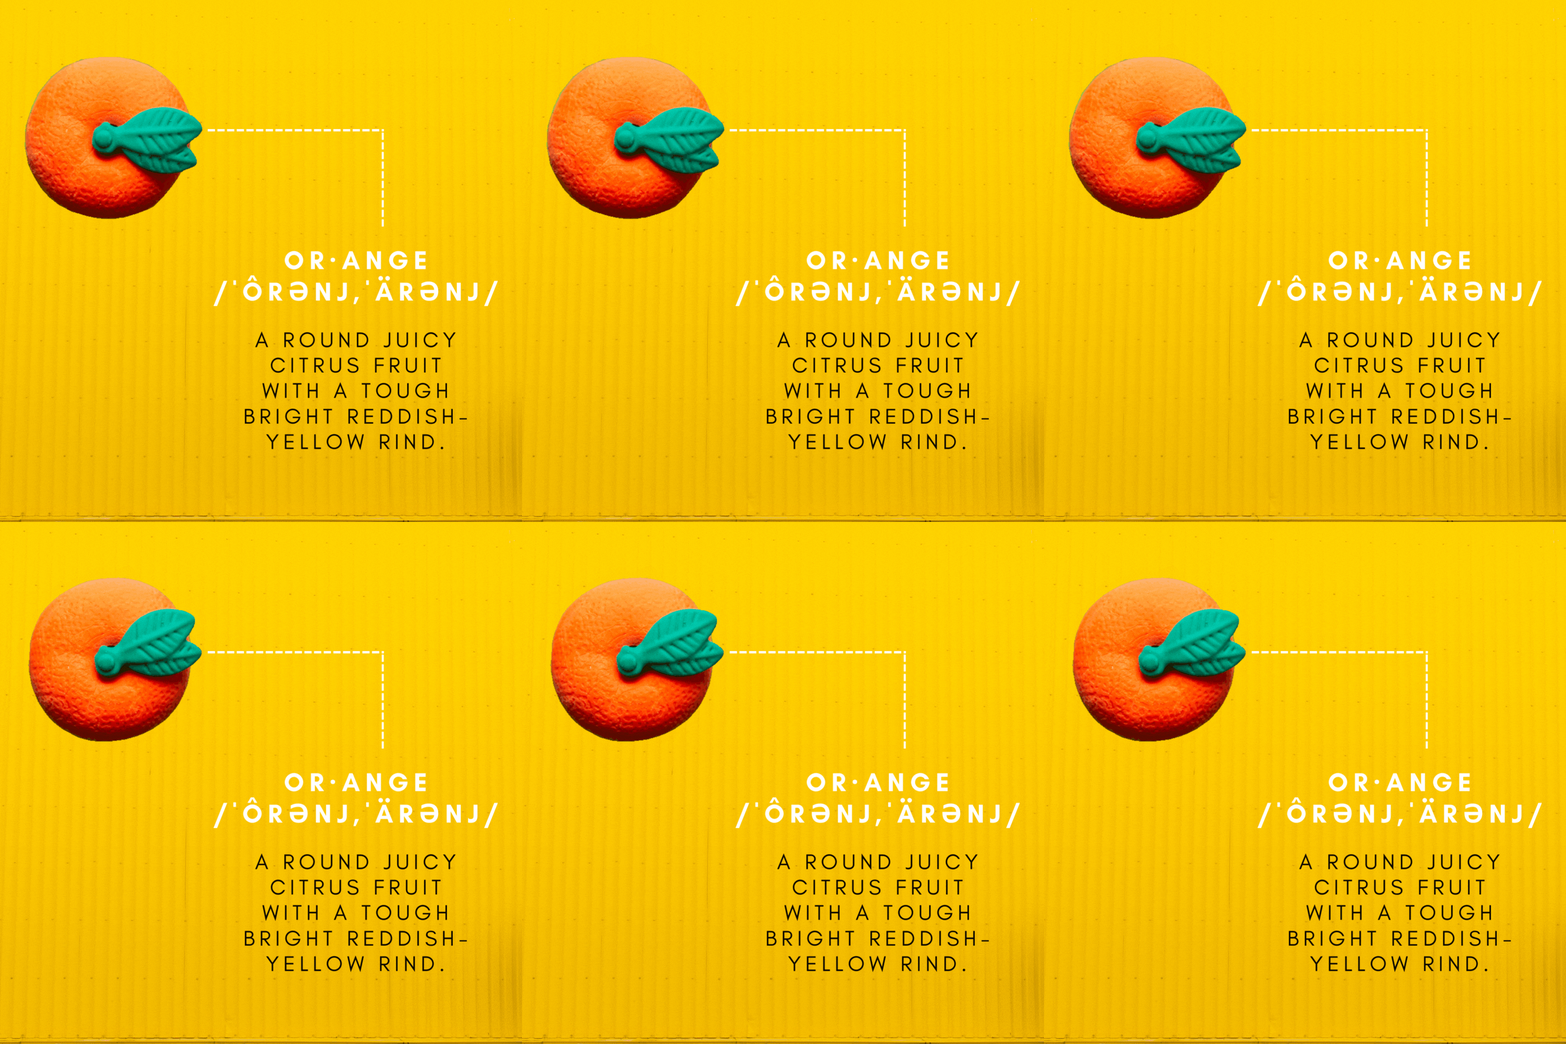
For the sample webpage below, we simply uploaded the GIF and dragged it onto the webpage so it matched the lines.

Now imagine seeing your animated products on your client's website. Wouldn't it look cool?
The GIF you see below was downloaded from GIPHY. You'll find plenty of them when you search Transparent GIF.
Transparent videos will come in handy, especially if you have a client that requires something different for their brand. Not many animators do this type of content, so use this as an opportunity to offer another unique service that will make you much more valuable to companies... and to yourself since you can now post your personal stickers on Instagram!