Video may be king these days, but MP4 or MOV aren't always the appropriate formats to use when showing your stop motion work.
If you want to add your stop motion clips to your website or use them for a newsletter, your best bet is to convert your video to GIF Files instead.

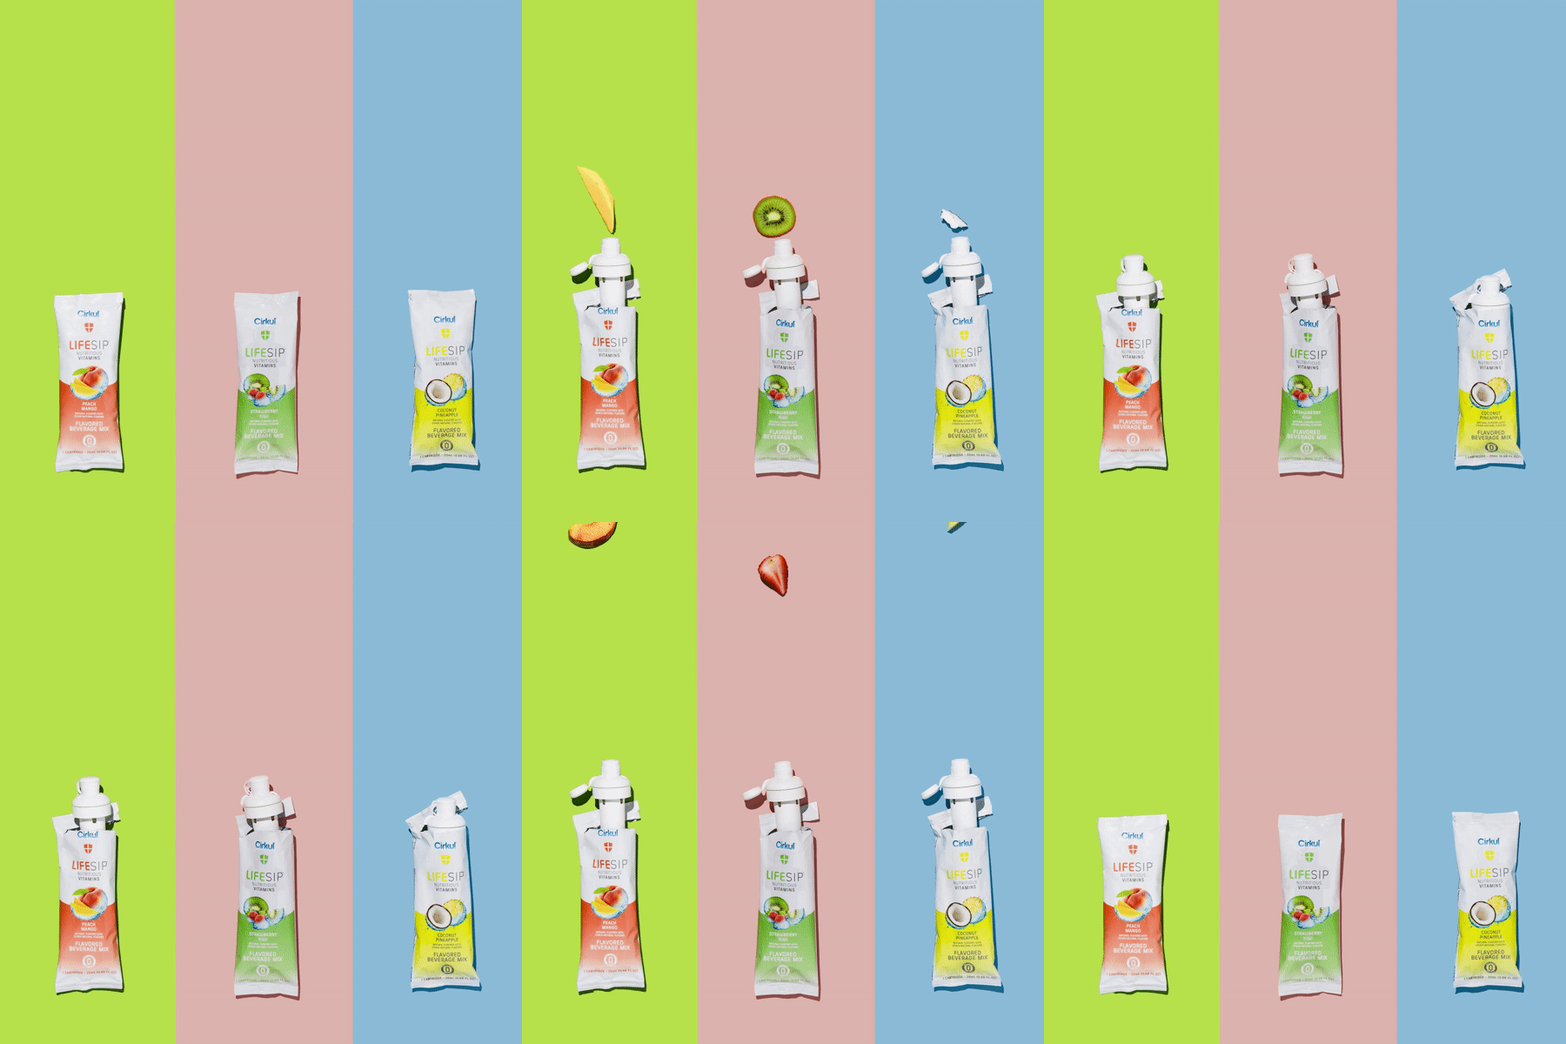
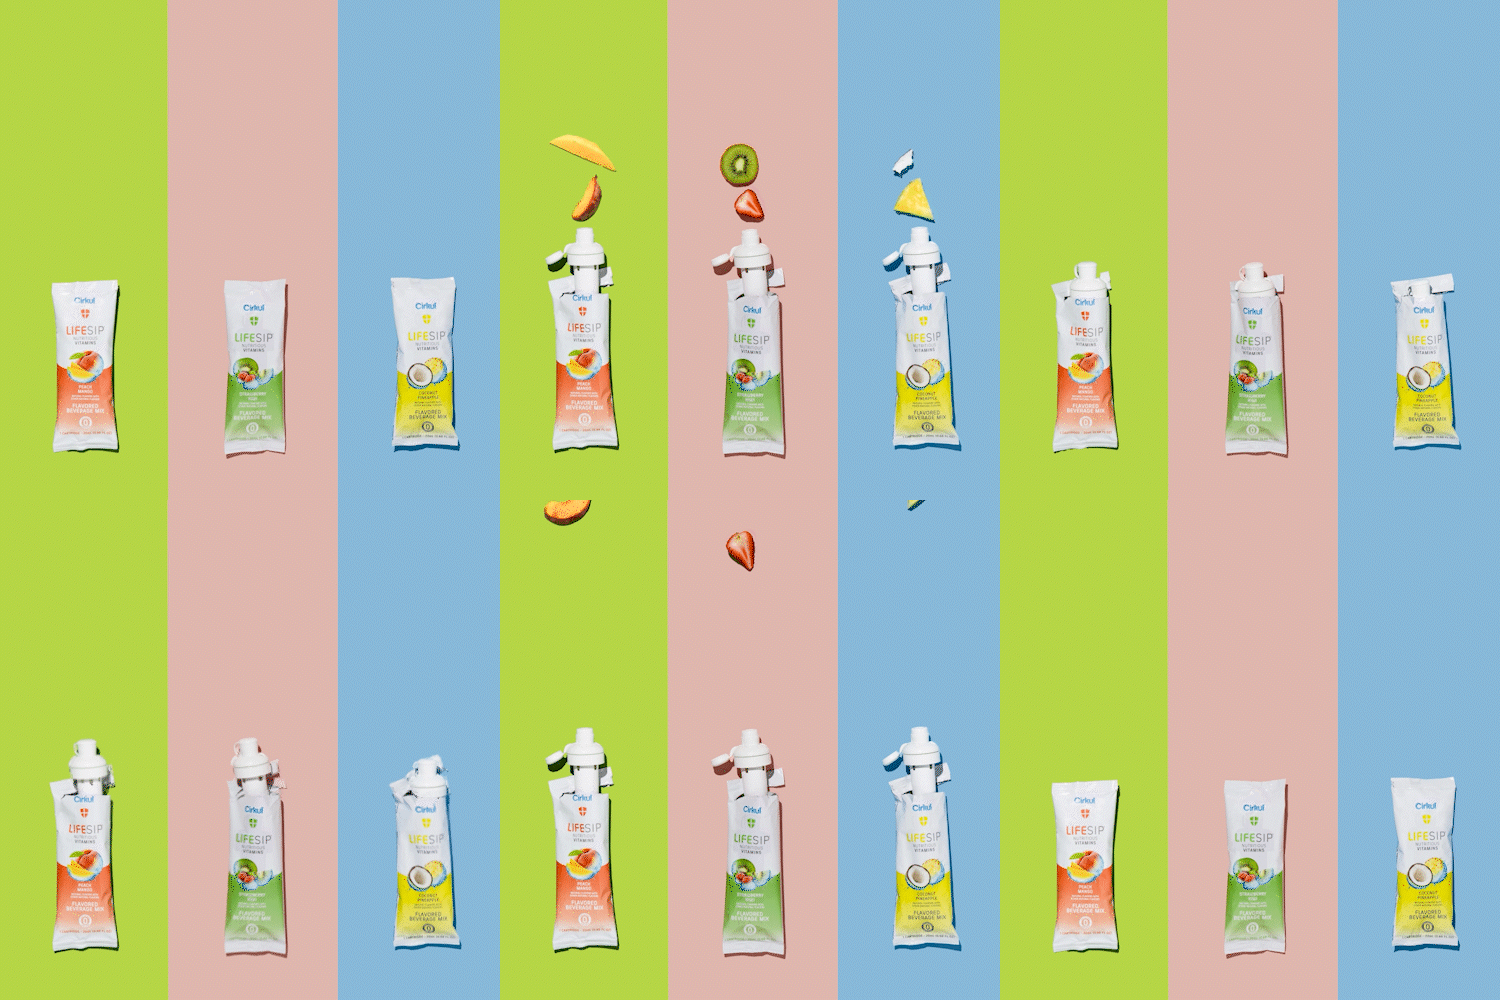
The sample clip you see above was converted from MP4 to GIF using Photoshop. The quality looks great, right?
So, why is GIF Better than Video for Websites and Newsletters?
Reason 1: It plays immediately.
When you embed a video file, people often have to press the Play button to watch it. In contrast, a GIF file plays immediately and loops infinitely once the webpage or newsletter loads.
Reason 2: It works like a regular image.
In many ways, a GIF file is just another image file like PNG or JPEG. While embedding a video may require a special plug-in, all you have to do with GIF is to drag and drop it into a document. It's so versatile it works even if you use it in Microsoft Word or Google Docs!
Reason 3: Works in smaller file sizes.
Okay. So the truth is that GIF files can be big (even bigger than a regular video clip!). But if you only limit your animation to a few seconds and adjust specific settings to lower quality, you'll end up with a smaller file size that would load way quicker than a video clip.
4 Ways to Convert Your Videos to GIFs
The Easiest Way: GIPHY
If you don't need a high-quality file that you only want to use for social media purposes, consider uploading your files to GIF hosting websites such as Giphy.
You don't need to pay anything to use GIPHY. You upload your regular video file, and the platform will convert it into a GIF for you. Once you finish processing your clip, you can use the Embed Code to place it on a website or social media platform.
It's the best option if you don't have a lot of space on your website because it doesn't take up your site's storage space.
Step 1: Go to Giphy, login, and click the Upload button at the top right corner of the page.

Step 2: Select between GIF, MP4, MOV, and transparent GIF (sticker) and click Choose File. You can then look for the clip you want to convert and upload it.

Step 3: Use the slider to trim your file. FYI: If you want to use a GIF that's longer than 10 seconds, GIPHY is the best choice for you. If you convert 10 second + videos in Photoshop, you could easily end up with a large file. But you don't have to worry about that with Giphy since it's the one hosting your file.

Step 4: To make it easy for people to find your GIF, add tags and source URL, then click Upload.

Step 5: Click the Share button to send it to friends on your favorite social media platforms. Or click the Embed button to embed the file in your webpage.

Here's the final GIF From GIPHY:
Notes: As you can see, the GIF itself looks sharp and the colors are accurate. But the dimensions are small. Regardless, this file only eats up 2.5MB of this website's space. This is the best platform to choose if your webpage doesn't have a lot of storage space.
The Convenient Online Solution: GIF Converter (EzGIF)
If you want to create high-quality GIF files without using Photoshop, we highly recommend ezgif.com. Unlike Giphy, it doesn't store your file on the site. It's a legitimate video-to-GIF converter that lets you download your animation instead of embedding it.
Apart from actual video files, it also lets you convert video URLs into GIF files or GIFs to video! Plus, you can edit, crop, and resize your clips on the same website.
Step 1: Click Choose File and Upload Video.

Step 2: Once the video file finishes uploading, you have the option to make changes to your GIF file. Apart from cropping and resizing, you can also cut, rotate, and reverse your clip. You can even change its speed and add subtitles.

Step 3: After making edits, you can change the start and end time for the clip and adjust its size and frame rate. Once you're satisfied with your changes, click Convert to GIF.

Step 4: After the file conversion, you'll see a new set of tools you can use to edit your clip further. This time, you can add Effects that let you add color presets, filters, frames, and other options.

At this stage, you can also add Text, censor bars, and overlay. Furthermore, you can change the speed and even delay specific frames in the clip.
Step 6: After editing your clip, you can now hit Save, and ezgif automatically downloads the file to your computer.
Here's the final GIF From ezgif:

Note: The quality of the GIF file you see above is great, and the 600 x 600px dimensions are definitely larger than Giphy's. This animation's file size is 4.08MB. It's larger than Giphy's, but it's still surprisingly small.
Our Preferred Method for photos: Photoshop
When editing animated frames, you might as well use Photoshop to convert your clip into a GIF file. That way, you don't have to open another app to do it. It's quick, easy, and produces the best quality from all the options we've provided.
Using Photoshop doesn't require a unique process to convert your animation into GIFs. The secret is to look for the appropriate settings when saving your file.
And by the way, did you know you can also load short video files into this editing app if you want to use it for GIF conversions?
Step 1: Load your frames and edit them just like you would when creating an animation.

To convert a video file, click Open and select it. Once it loads, you don't have to do anything else.
Step 2: Go to File > Export > Save For Web (Legacy).

Step 3: Once the dialog window opens, feel free to change either the image size or the percentage of your file. You can go as low as 500 pixels in width in most cases without worrying about your GIF being too small.

So why is resizing necessary, you ask? Remember that Photoshop produces the highest quality GIFs. The downside is you'll have to deal with large files that can get up to hundreds of megabytes. So if you want your animation to load on your website quickly, we recommend you resize your file and keep it below 15MB.
Note: You have the option to o lower your file size even more by lowering your Colors from 256 to anywhere between 128 and 2. But we don't recommend this method because it will gravely affect the quality and appearance of your picture.
Step 4: For Looping Options, select Once if you only want your GIF file to play once when it loads on the computer, or Forever if you want it to keep repeating.

Step 5: hit Save, and you got yourself a high-quality GIF File!
Here's the final GIF From Photoshop:

Note: If you noticed, the ezgif GIF was a tad blurry. But as you can see, you don't have that issue with Photoshop. It looks so crisp, you'd think it's a real video file playing on loop! The dimensions for this particular animation is 1080 x 1080 and the file size is 8.08MB, double the size of the ezgif file. It's quite large, but still about the same size as a high-quality JPEG file.
Best Choice for Video Clips: Adobe Premiere
Technically, Premiere is the video version of Photoshop. So if you have a full video clip instead of individual image files, we suggest you use this app instead.
Like Photoshop, you can expect the highest quality GIF conversions when using this app. In fact, the sizes of the files it converts tend to be astronomical (it can reach up to 100MB for a 2-second clip!). So make sure you use lower settings to keep your GIFs manageable.
Step 1: Click New Project, name your file, designate a location, and hit OK.

Step 2: Drag and drop your file into the timeline.

Step 3: Click Export > Media. Once the dialog box appears, go to Export Settings and select Animated GIF as your Format.

Step 4: Under Basic Media Settings, click Match Source. Uncheck the Width and Height option so you can resize your file to a width of at least 500px.

You're also free to change the Frame Rate to reduce the file size even more. But we recommend not going below 12 frames per second. Otherwise, you'll end up with a jittery animated GIF.
Here's the final GIF From Premiere:

Note: The GIF from Premiere has a lot of artifacts that make the file look like it was produced in the 90s. We reduced the dimensions to 500 x 500px and the file size was still 10MB. You may find this surprising, but if you load the same video file in Photoshop, you'd still get better results without the artifacts.
At the same time, it's worth noting that if you edit your animation with individual image files instead of one whole video in Premiere, you'll get high quality results comparable to Photoshop when you export your work as GIF.
We regularly use all the methods discussed above to convert our GIF Files, so we're confident you'll find them helpful too.
The trick is to know which method to choose for different situations. In most cases, we convert with either Photoshop or Premiere to get the best results. We use them all the time for this blog, and you can see how beautiful they look.
When we don't have access to Photoshop and Premiere, we use Ezgif because it's available online. And if we want to pose our GIF files on social media platforms, Giphy is our go-to app.