Animating several items all at once can be pretty intimidating. But did you know that there's a relatively easy way to do it when creating overhead (flat lay) stop motion clips?

The secret is using chroma key! We'll teach you how to use it to rearrange animated elements, create patterns, and even choose whatever background you want!
Step 1: Photograph your object against a green background.
In one of our posts, we taught you how to use a green/blue screen (i.e., chroma key) to change the background of your animation. And that's the same technique we will be using for this project--but with a few tweaks!
Since you'll be doing flat lay animation, you must place your product against a color background.
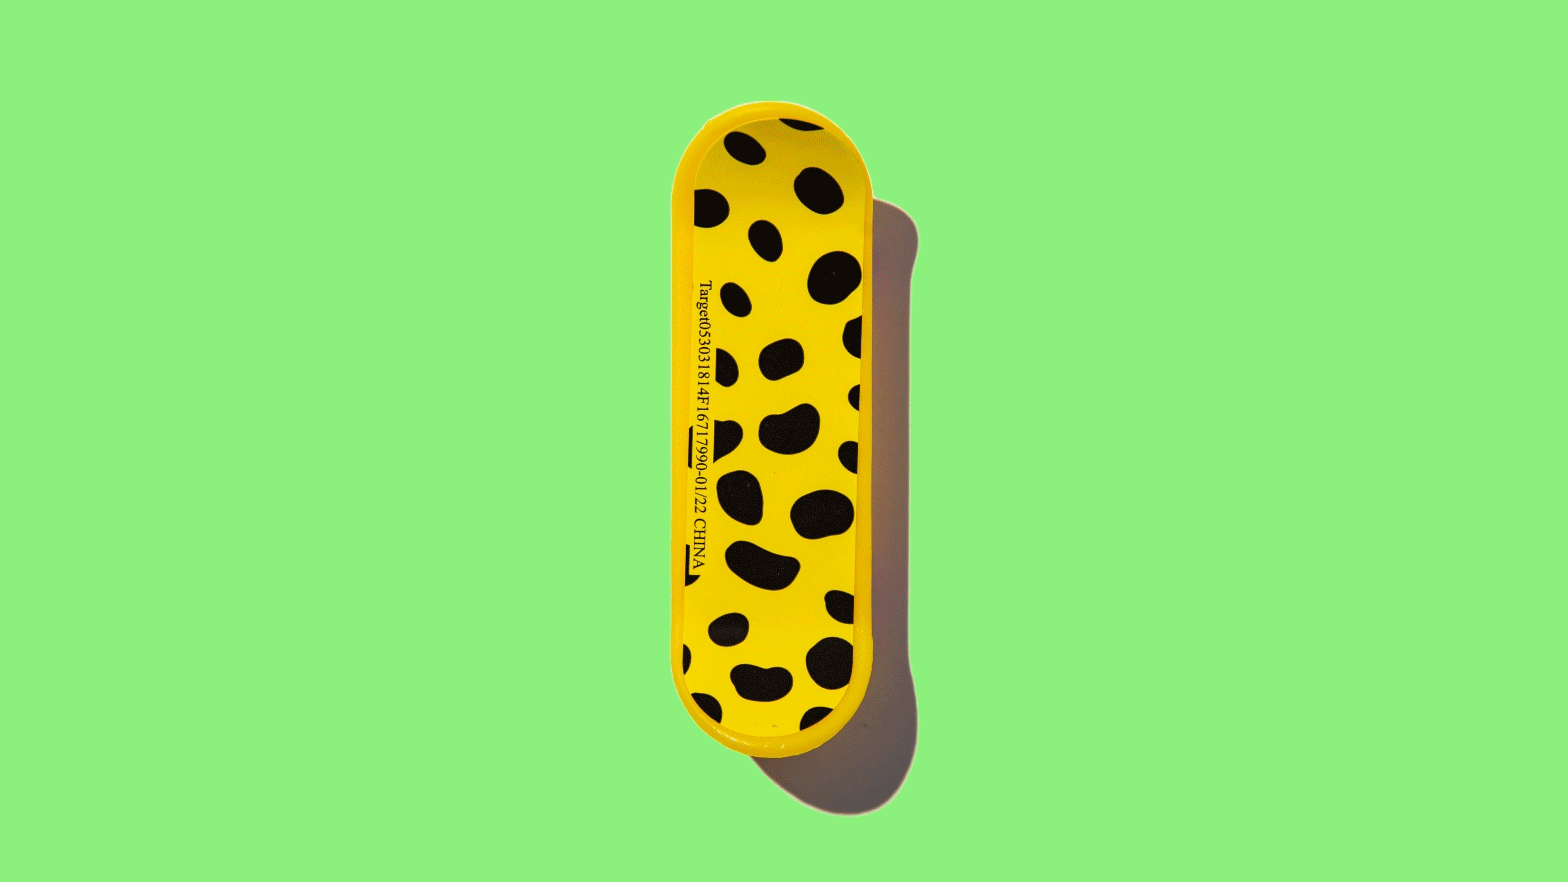
Typically, animators use either neon green or blue because you don't often see objects with those colors.
But there are also occasions when the items you're animating may have colors that closely match neon green or blue. In that case, you can try other colors as long as they don't match the hues present on the object you're animating.
For flat lays, we typically use less saturated blue or green to avoid what we call color spill.
You see, when the light bounces off the background, it will hit the object you're animating. And if there's too much green or blue hitting that item, that area might disappear once you remove the background.
We recommend that you animate the objects one by one against the green or blue background. That way, it won't be overwhelming for you. After all, you can combine them all later in post.
Step 2: Key out the background.
Keying out the background is animator-speak for removing the green or blue backdrop.
To begin, you'll need to turn your series of images into a video file first using either Photoshop or Premiere.
Once you finish converting your animation, load it into Premiere's timeline. Place it in the second video track since the bottom track. After that, you can then drag your preferred background to the first track (bottom).
Click the Effects tab and type Keying in the Search bar. Look for Ultra Keying and drag it to the animated sequence in your timeline (you can view the process below).
Click the Editing tab and search for Ultra Key under Effect Controls. Scroll down and select the Color Picker tool beside Key Color.
With the Color Picker tool selected, hover your mouse on the program monitor and click on the color (in our case, neon green) you want to key out. Once you let go of the mouse, you should see the background appear!
Step 3: Crop your animated sequence.
Depending on the aspect ratio you choose for your animation, your animated sequence may have black bars on either side. Premiere adds these to fill the space in the frame.
If you end up with black bars, go to the Effects Panel and type Crop in the search bar. Next, drag the effect to your sequence to apply it.
Click the Editing bar and search for the Crop panel. Adjust the Left and the Right perimeters to remove the black bars.
Step 4: Clone your animated sequence!
Right-click on the Timeline panel (not the sequence) and select Add Track if you only want to add one or Add Tracks to include many.
Once you have the extra tracks, click on the sequence you want to copy and press CTRL + C. Then press CTRL + V to paste the new copies into the timeline.
Drag your new sequences and place one on each new track. You can always add new tracks if you don't have enough.
At this point, you can use the Position feature under the Editing tab once again to reposition each new sequence. Keep in mind that you can't select multiple videos at once. If you do, the tools under the Editing tab will be disabled.
Step 5: Scale and reposition your animated sequence.
Now that you've removed the background, it's time to resize and rearrange your animated sequence.
Click the Edit tab and look for the Position, Scale, and Rotation under Motion.
You can use Position to move your object from left to right or up and down.
Meanwhile, Scale is for resizing your animation. 100% is the original size of your sequence. Move the slider up to make it larger and down to make it smaller.
Finally, we have the Rotate feature. Move the slider to the right to tilt the animation to the right. Move the slider to the left to tip the sequence to the left.
Step 6: Consolidate your pattern.
Once you're satisfied with the pattern, select the sequences (don't include the background), right-click, and select Nest. Doing so allows you to consolidate all the videos into one sequence.
Once a dialog box pops up, rename the file to help you distinguish it from the other sequences in the timeline.
Step 7: Repeat the process.
Now that you have finished arranging your first series of animated sequences, it's time to include new ones in the timeline.
At this point, all you have to do is drag the new sequence you want to animate and go through the same process.
Feel free to add more tracks to accommodate the new sequences in your timeline. Once you nest the new sequences, please don't select the background and the previous clip you already nested.
Of course, this technique isn't limited to patterns. You can use this to animate multiple objects moving in all directions.
The beauty of using this technique is that it makes working with multiple objects less intimidating (try to imagine if we had to animate 15 skateboards all at once!).
And as we mentioned before, with this technique, you can change your mind all the time and experiment with various arrangements and even backgrounds!