As you start gaining clients with bigger budgets, you'll find that simply explaining your animation idea to them will not be enough anymore. You'll be dealing with creative directors or social media managers that may want specific details regarding your concept. If that's the case, you'll need to create an animatic to show them precisely what you have in mind.
What is an animatic?
The clip you see below is an animatic of the animation we did above. As you can see, they both look similar. But the animatic looks a bit more crude and are made of graphics instead of real props.

Now, you must be asking, why create an animatic when you can just create the real animation?
Well, think of animatics as animated storyboards that help illustrate how the elements in your stop motion clip will move and interact with each other. Like storyboards, animatics don't need to be perfect. Their purpose is purely as a visual reference so that other people can better imagine your concept.
There are different ways of creating animatics. The simplest one is literally combining storyboard frames into a rough animation. But there's a more professional option using After Effects.
We know that some of you feel intimidated by After Effects, but we can assure you that the steps in our tutorial are easy to follow even if you haven't used the program before.
So let's start!
Step 1: Draw a storyboard
Your storyboard doesn't have to be beautiful, especially if you're not showing it to your client.
The crucial part of drawing a storyboard is to figure out how your animated sequence will look. Also, creating a storyboard will allow you to see what kind of props and elements you'll need for the project.
Step 2: Illustrate or source the individual elements from your storyboard
When we say illustrate or source individual elements, we mean create or find digital versions of all the objects you drew on the storyboard.

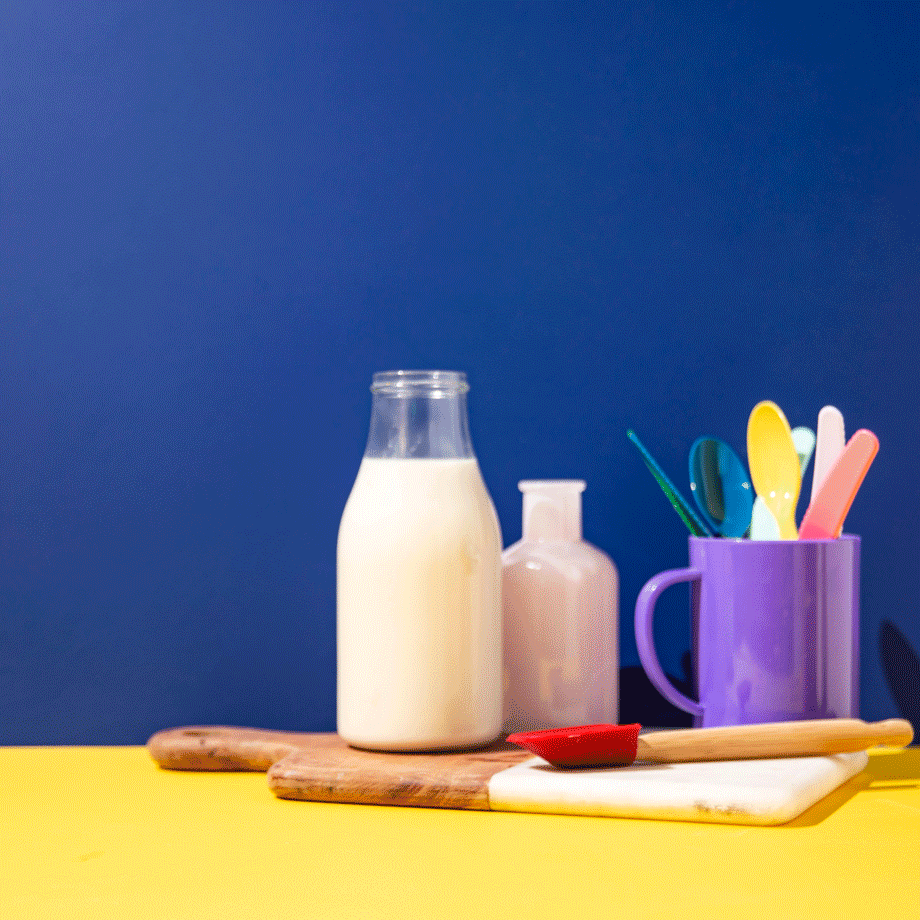
You must draw elements separately so you can move each object individually (in our case, everything from the milk bottles to the bowl) once you start animating in After Effects.
For this project, we sourced stock photos of the objects on our storyboard online since we're not good at drawing. We found vector art for everything we needed on Canva. But we also regularly source images from Adobe Stock.

We quickly found vector art for things like the mac and cheese bowl and the milk bottles. But there were also specific things in our storyboard that were difficult to find on Canva, so we just had to find alternatives.
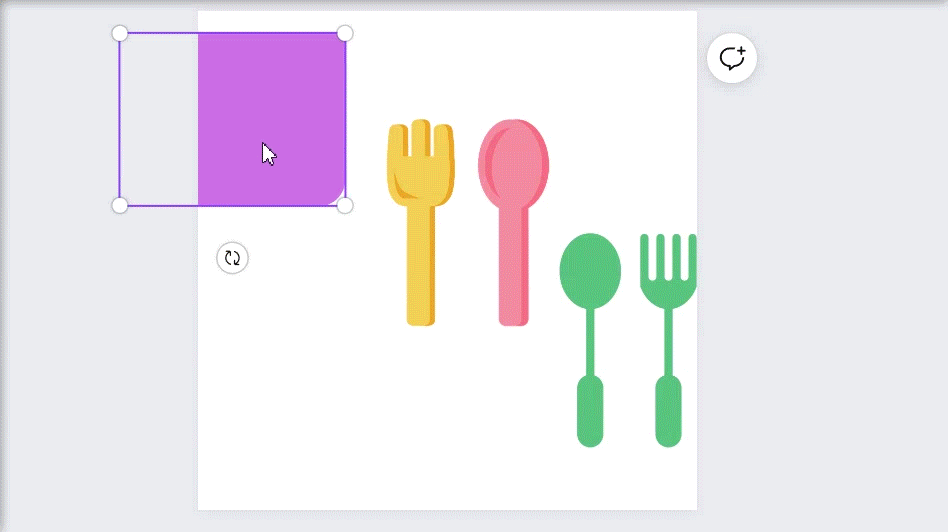
For the utensils in the mug, we first looked for some silverware graphics and dropped them into the frame. We then found a cup and dragged it in front of the utensils so it would look like the forks and spoons were inside the cup.
And how about the cheese board in our storyboard? Although there were plenty of cheese board vector art on Canva, most of them were not from the angle we wanted. So we decided to use a wooden plank which we thought worked great in conveying our idea.

And finally, what about the product itself? In most cases, we either take a photo of it ourselves or save an existing photo online. It doesn't matter if it's not vector art, as long as it's an accurate representation of the item we intend to shoot.

You'll encounter the same issues we did when you source images online. So keep your mind open and figure out how to find replacements if you can't get the image you're looking for.
Also, remember that the file you draw or source must have a transparent background. You can choose a transparent background in Canva when you export your file. Popular stock photo sites such as Adobe Stock also offer files with transparent backgrounds.
If the image you choose doesn't have a transparent background, you can always open the photo in Photoshop, isolate the object, disable the white background, and save the picture as a PNG. Doing so ensures you retain the transparent backdrop during export.
And how about if you're using vector files? You can export them as SVG or other compatible formats. After Effects will have no issues reading these graphic files.
It would also help to make sure you rename the files according to the object in the image. For instance, since we had photos of milk bottles, we renamed them Milk Bottles. That way, they would be easy to find in the Adobe After Effects timeline during editing.
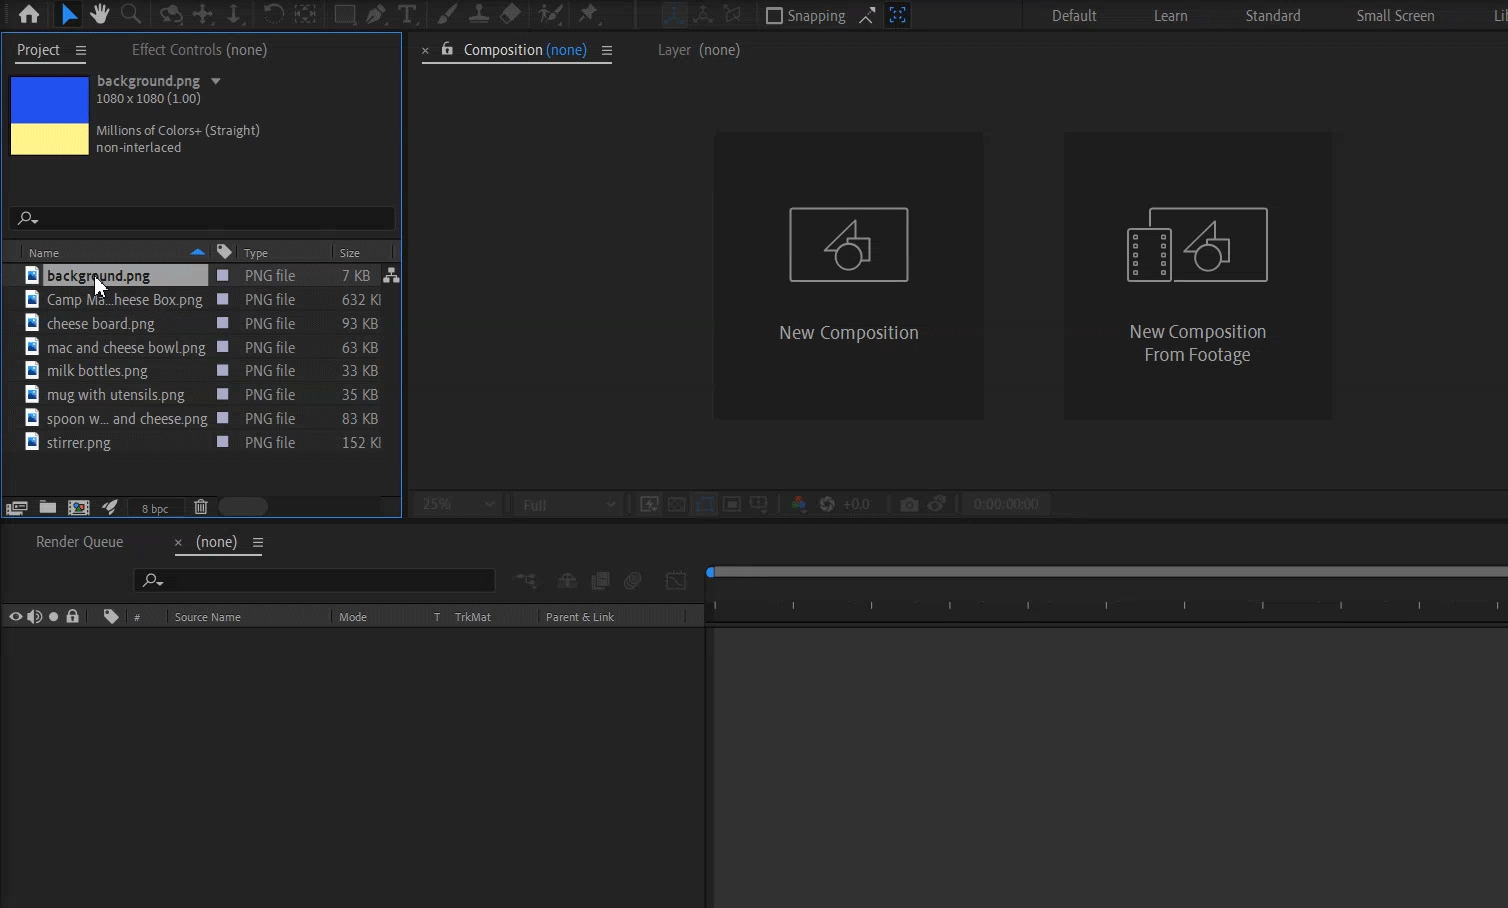
Step 3: Import the files to After Effects
Once you have all the necessary assets in PNG or SVG, create a new project on Adobe After Effects and drag the files to the project panel.

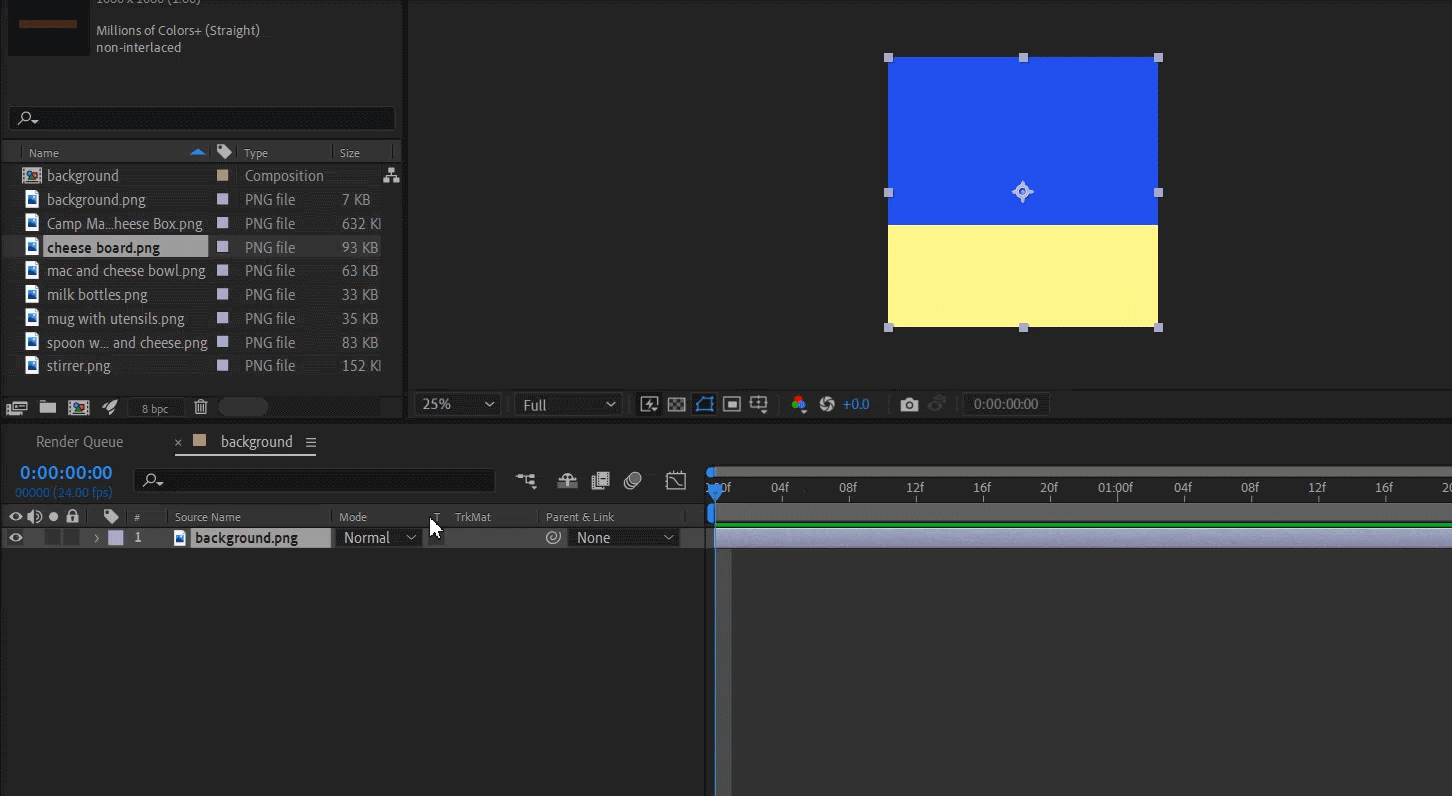
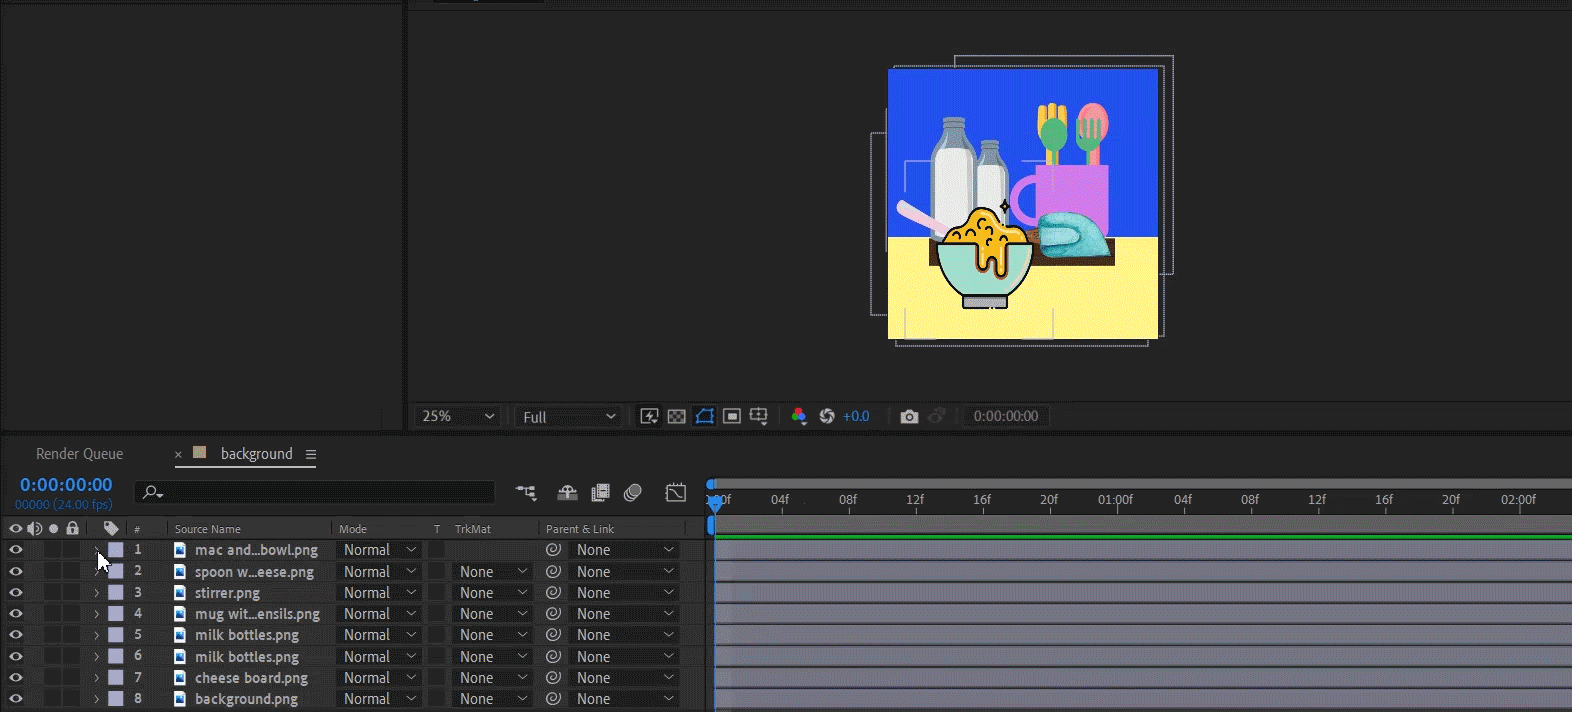
After the files finish loading, drag the assets one by one to the timeline. Start with the background and follow that with the other items that will stay stationary throughout the clip. In our case, it was the milk bottles, cutting board, stirrer, and mug with the utensils.
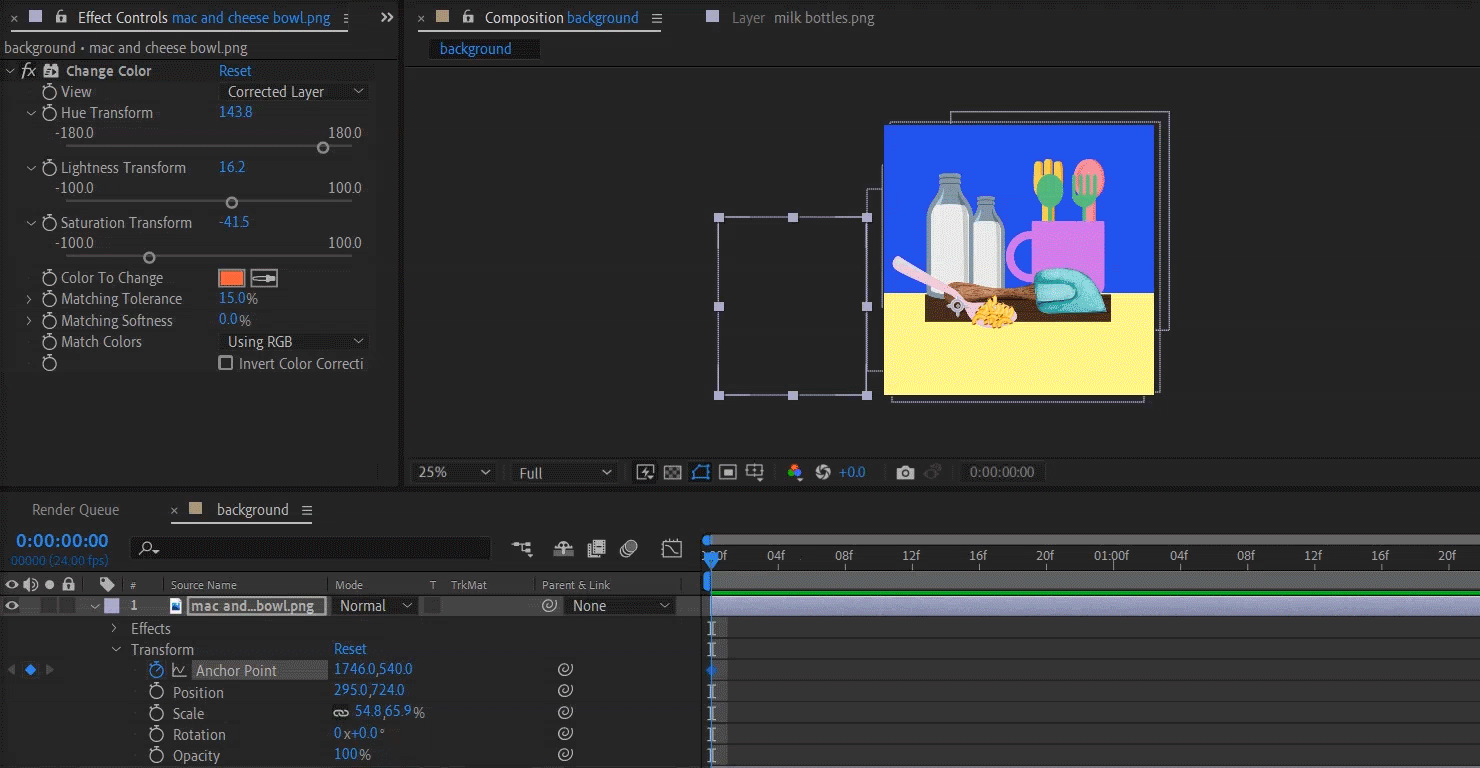
If you want one item to be in front of another object, drag its layer so that it's on top of the other layer which you want to be behind. You can see a great example below of us rearranging the background and the "cheese board."
We simply dragged the cheese board layer so it's on top of the background layer. Consequently, the cheese board appears to be in front of the background.
The last items should be the elements that will be moving in the clip. In our case, they were the mac and cheese bowl, spoon and the Camp mac and cheese box.
Step 4: Readjust the size of the elements
When you import files to After Effects, you may end up with some objects that appear larger than others. If that's the case, you'll need to rescale them.
To rescale an item, you must click on the item (not in the timeline but on the preview screen) and drag the adjustment points to change the image size.

Alternatively, you can click the dropdown arrow next to the image in the timeline, go to Scale, and use your mouse or the number keys to adjust the file size. This is our preferred method because it's more precise.
Step 5: Make the objects move!
You don't need to animate frame by frame when using After Effects. All you have to do is use keyframes to plot where and when you want the elements in your animation to go.
Keyframes may sound complicated, but you can think of them as markers that let the computer know what to do at specific points.
So how do you use keyframes? Easy!
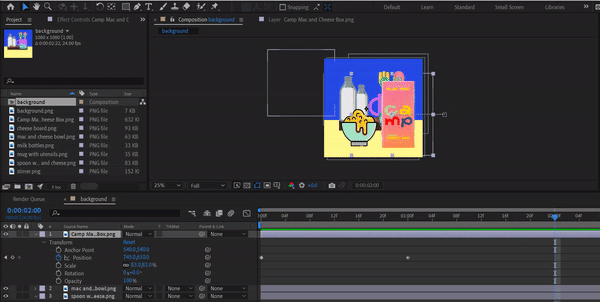
First, move the object to Point A. In our case, we wanted the mac and cheese bowl to start off-screen, so we moved it there.
Next, click the dropdown arrow in the layer of the object you want to move. Look for Transform and click the stopwatch icon next to it to activate your first keyframe.
After establishing your first keyframe, move your timeline indicator forward. If you want the object's movement to be fast, move the indicator a little. If you want the item to move slower, move the indicator farther away.
After moving the indicator, click on the object on the screen you want to move and drag it to where you want to place it. But in our case, we changed the values next to Position so we could precisely control the element's movement.
After Effects automatically creates a keyframe once you move the object again. Once you play the clip, you'll see that the program moves the animated element automatically from Point A to Point B using the keyframes you set as references.

If you want to create another movement, such as the spoon going up, all you have to do is move the spoon out of the frame. After Effects will create another keyframe and automatically animate that movement for you!
Bonus tool: Puppet Warp
Not long ago, we taught you how to animate in Photoshop using Puppet Warp. But did you know that After Effects also has the same tool?
We didn't need to use the Puppet Warp in our sample animation. But we'll include it anyway because you may find it helpful when creating your animatics.
First, click on the object you want to animate twice. Don't worry if the background turns black. It only means you're now on the Layers panel, which activates the editing tools, including the Puppet Warp.
Go to the toolbar and click on the pin icon representing the Puppet Warp. Like our tutorial in Photoshop, click on the corners to add the pins, which you can use later to move the object.
Once you finish adding the pins, go to the timeline, click the dropdown arrow beside the object you wish to animate, and click the stopwatch icon next to Mesh Ro...efinement under Puppet. Doing so will create another keyframe.

Now go back to the Composition Panel, and move the timeline indicator forward (just a little if you want a quick movement). Go to the preview screen and push the pins on the object you want to animate. AE will remember those movements, so when you play back the clip, the program will recreate the action for you!
Remember that every time you do another movement, you'll need to move the timeline indicator and then adjust the pins. Otherwise, AE will not make the keyframes and remember those actions.
Once you start securing larger projects, keep in mind that most creative directors expect animatics. So this is undoubtedly an essential skill you need to master.
The crucial part of creating animatics is staying true to the concept you intend to execute. If your animated storyboard is too far from the final result, you may end up with unhappy clients.
At the same time, your animatic doesn't have to be perfect. You're not making the actual animation here--just a mockup. So it has to be something you can finish in a matter of hours and not days. That's why After Effects is the perfect app for the job--it lets you create quick animated clips in a matter of minutes!