If you want to create stop motion professionally for brands, then we highly recommend Dragonframe. It’s a desktop app made explicitly for stop motion animation.

Since Dragonframe was released in 2008, it quickly became the standard tool for animators. It was the program used to animate movies such as Coraline and Isle of Dogs--and it still remains the preferred app for making commercials, shorts, and full-length films!
So what does Dragonframe do, and why do you need it?
Dragonframe can do a variety of tasks, from recording animation to controlling lights and camera movements. But for now, let’s focus on the core features you’ll find helpful as a first-time user. This fantastic app allows you:
View live scenes on your computer screen.
Control the focus and exposure settings of your camera.
Capture frames and save them straight into your computer.
Calculate the increments of your character’s movements.
Playback your animation in real-time.
Export your animation sequences as still frames or videos.
Don’t worry if you still don’t understand all the features we listed. We’ll be delving deeper into each one as we go through the Dragonframe workflow below.
How to Use Dragonframe
Step 1: Open a New Scene
First, connect your camera to your computer via USB cable.

Once your computer and camera are connected, turn on the camera, open Dragonframe, and click New Scene.
Type in the name of your production (up to 5 letters), and type the number 1 beside Scene and Take, respectively. As for the Frame Rate, you can choose between 12 or 24 fps. Once you finish, click Okay again.

Turn on your camera, and after a few seconds, you should see Live View within Dragonframe.

Step 2: Adjust Camera Settings
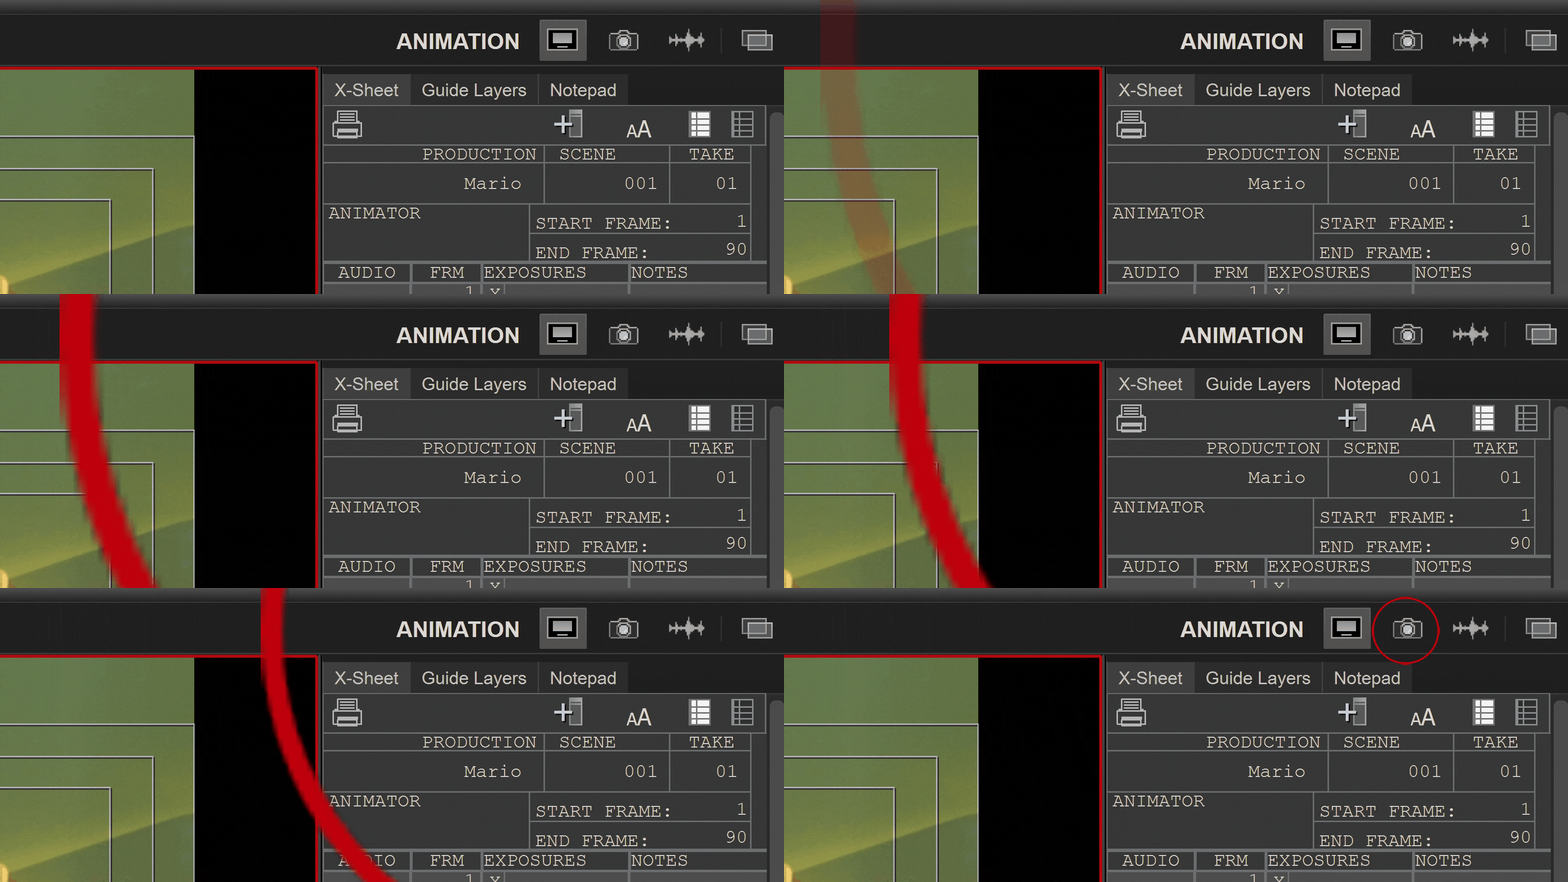
Click the camera icon at the top right part of the screen.

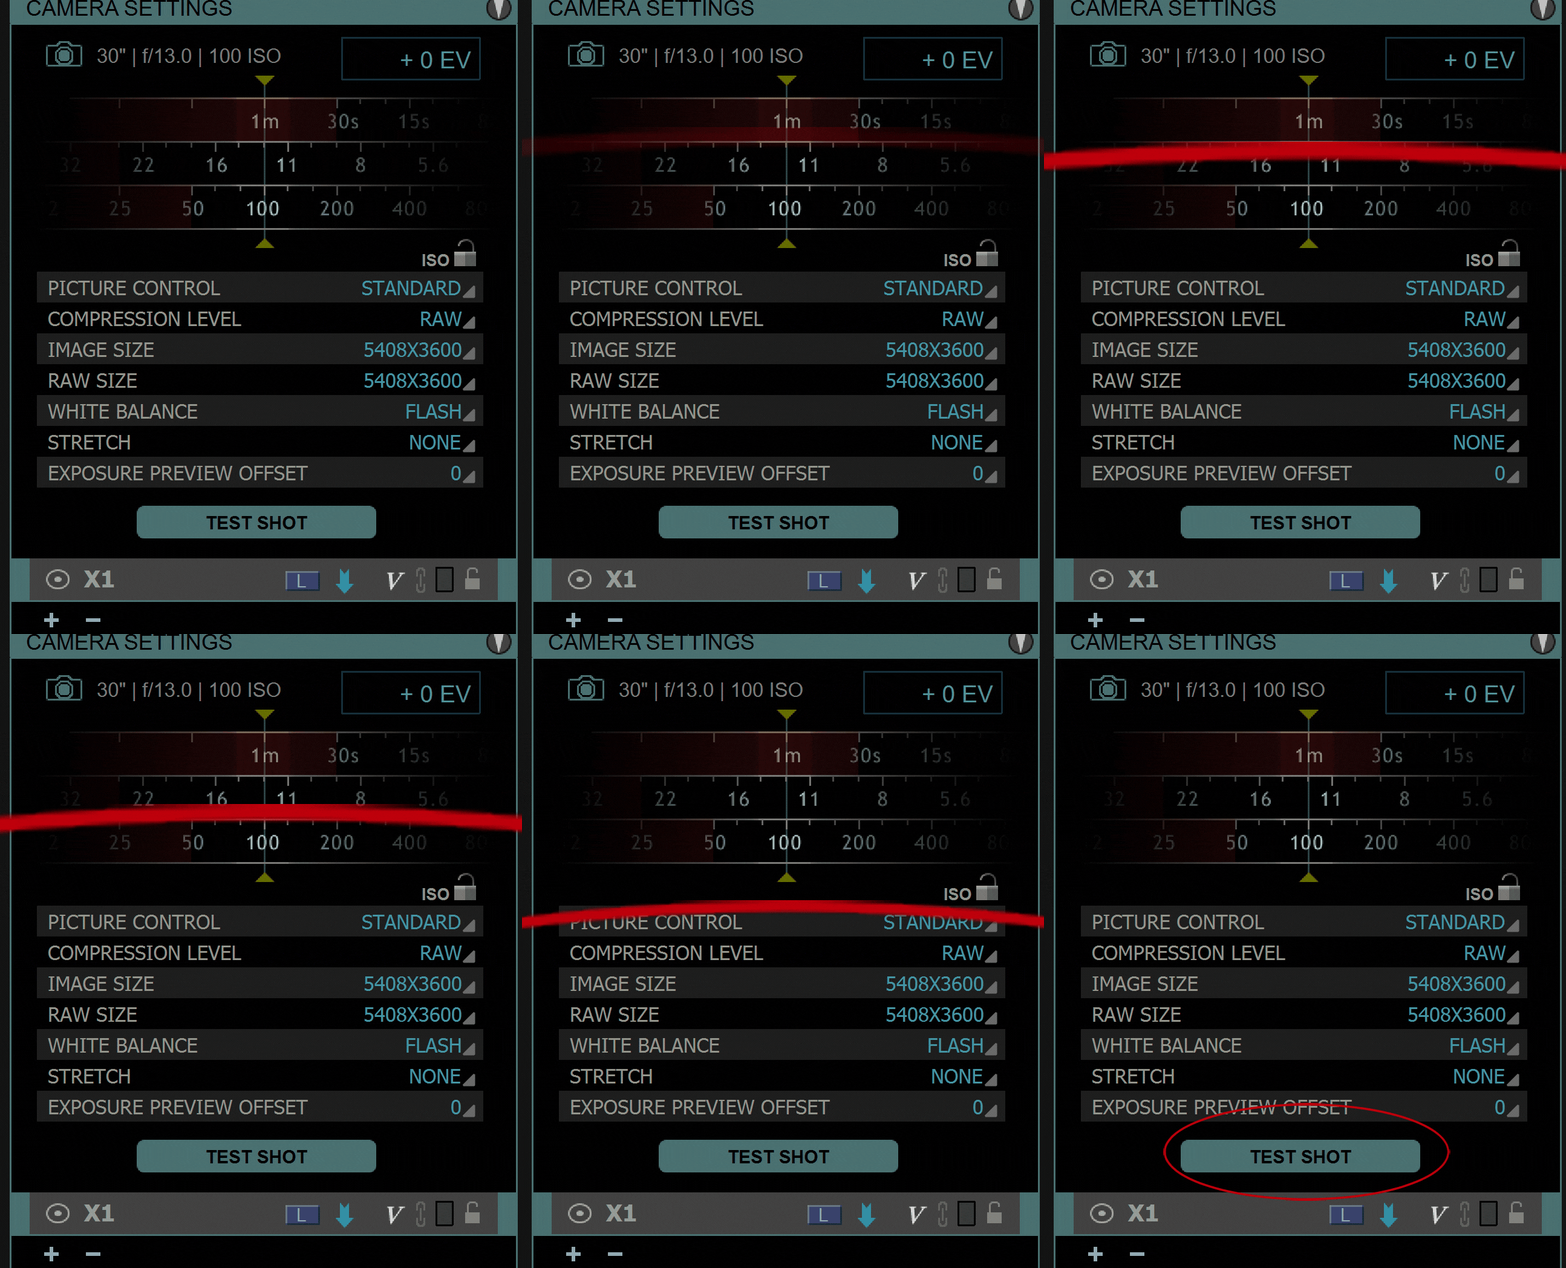
Look for Camera Settings and adjust the ISO, Aperture, and Shutter Speed.

In general, we keep our ISO to 100 to minimize image noise.
For Aperture, we use anything between f/2.8 to f/4 if we want a blurry background and between f/8 to f/16 if we want it to look relatively sharp.
For Shutter Speed, we generally use anything between 1 second to 1/30th of a second. We avoid using high shutter speed because it often makes the lights in our scene appear to flicker when we play our animation.
To make sure our exposure settings are correct, we click Test Shot. We then inspect the image once it appears on the screen.

If the exposure is off, we readjust our settings and do another test shot until we get everything right.
Once we find the correct, We also use this time to check the focus of our camera. If our main subject is blurry, we readjust our lens and test it again.
Step 3: Adjust Animation Parameters
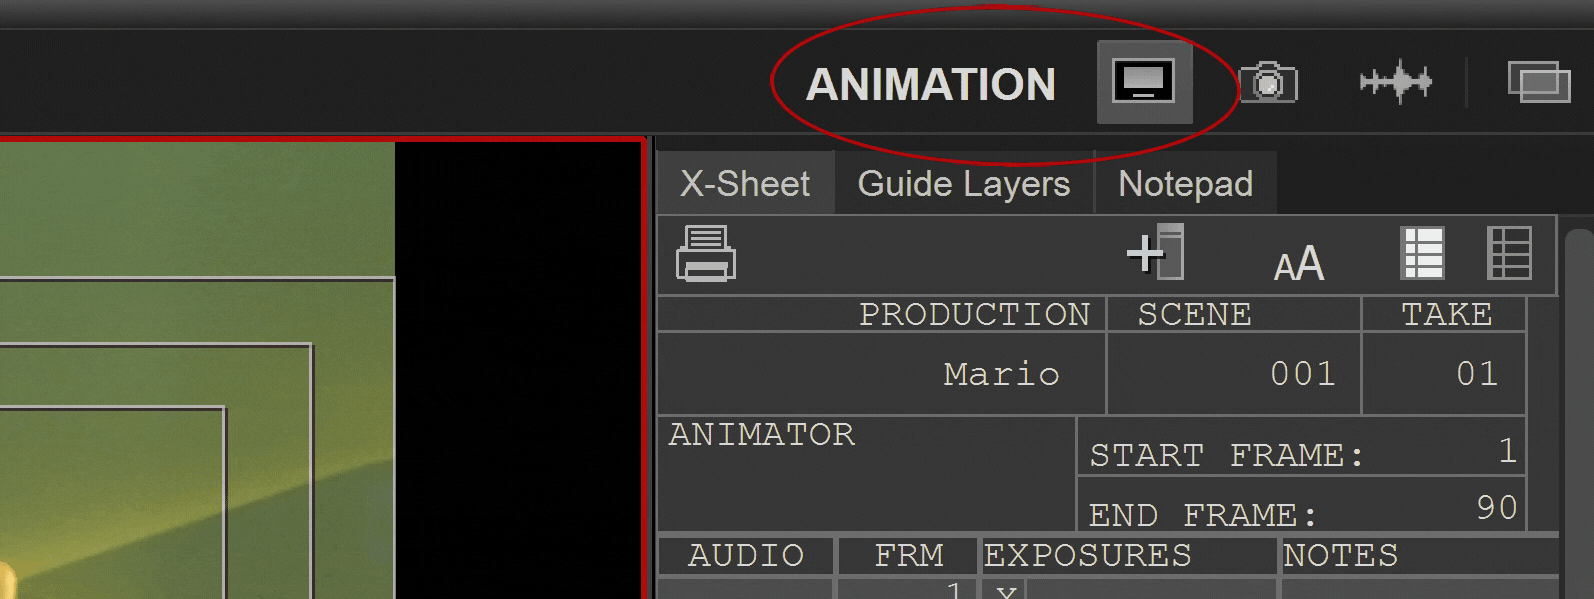
Click the Screen Icon (Animation) at the top right corner of Dragonframe to return to the timeline.

Now, move your mouse across the screen, and you’ll find a floating window with a few handy tools you can use for animating.
Click on Composition Guides and look for Aspect Ratio. Select 1:1 for Instagram, 16:9 for Youtube, or 19:6 for Tiktok.

While the floating window is still open, click on the Pencil Icon to access the Drawing Layers. This tool is helpful to plot out on the screen where you want your character to move.

In the reference image below, you’ll see that we drew a box to make sure our main subject Super Mario stays in the middle of the frame as we animate.

If you want your slide and jump shots to look smooth, click the Increment Editor in the Drawing Layers panel. Once a dialog box appears, type the number of frames you think it will take for your character to get from Point A to Point B. The Increment Editor then automatically positions increment markers across your arc or line.

You can click and drag the diagonal line in your Increment Editor to redistribute the increment markers. To create a smoother result, you can drag to one side or another to add Ease-In and Ease-Out to your character’s movement.
Step 4: Capture Frames
Once everything is set, you can now start animating!
To capture your first frame, you can click on the Camera icon in the timeline or press Enter on your keyboard.

If you bought a remote for Dragonframe, press the Record key instead.
Step 5: Use the Onion Skin
At the very bottom of your timeline, you’ll see a slider with a red button in the center. Slide it either left or right to apply Onion Skin to your animated frames.

Onion Skin allows you to see and compare the increments between the frame you just shot and the frame you’re about to shoot. That way, you can better grasp how much you need to move your product or character.
If you don’t want to use Onion Skin anymore, slide the red dot back to the middle.
Step 6: Play Back Your Animation
If you want to watch your animation, hit the Space Bar on your keyboard or the Play button on your remote.

To loop your animation, click the Loop icon and press Play.
Step 7: Save Your Animation
Once you finish your animation, it’s time to save it!
Go to File, and in the dropdown menu, choose either Export Movie or Export Image Sequence.

We choose Export Image Sequence because it gives us the freedom to edit our frames individually.
Once the Export Image Sequence window opens, choose either High-resolution JPG/TIFF or High-resolution RAW.
If you don’t need to edit your files much, choose JPG to keep your file sizes minimum. But if your files need extensive editing, then we suggest High-resolution RAW. After all, once you edit those RAW files in Photoshop, you can always export them as JPG.
Under Transformation, confirm if you have the correct aspect ratio. If not, type in the correct values. After that, hit Export, and you’re done!
Note that the individual frames will still need to be edited in Photoshop/Premiere and be converted into either GIFs or video.
There are a lot of other features that we didn’t discuss in this tutorial. But we didn’t want to inundate you with information you don’t necessarily need yet. Our goal is to help you start animating right away, and what you just learned is all you need to do just that.
As you feel more comfortable with the program, feel free to explore its other tools and features. It allows you to do anything from integrating live videos with your animated frames to creating stereoscopic animations. Oh, and did we already tell you that it can also control electronic sliders and cinema lights? And we’re barely just scratching the surface of what it can do.