In one of our early blog posts, we briefly mentioned how to do replacement stop motion animation. As the name suggests, this technique involves changing out an object with another object between frames. The result of this method ends up more or less like the animated GIF below.

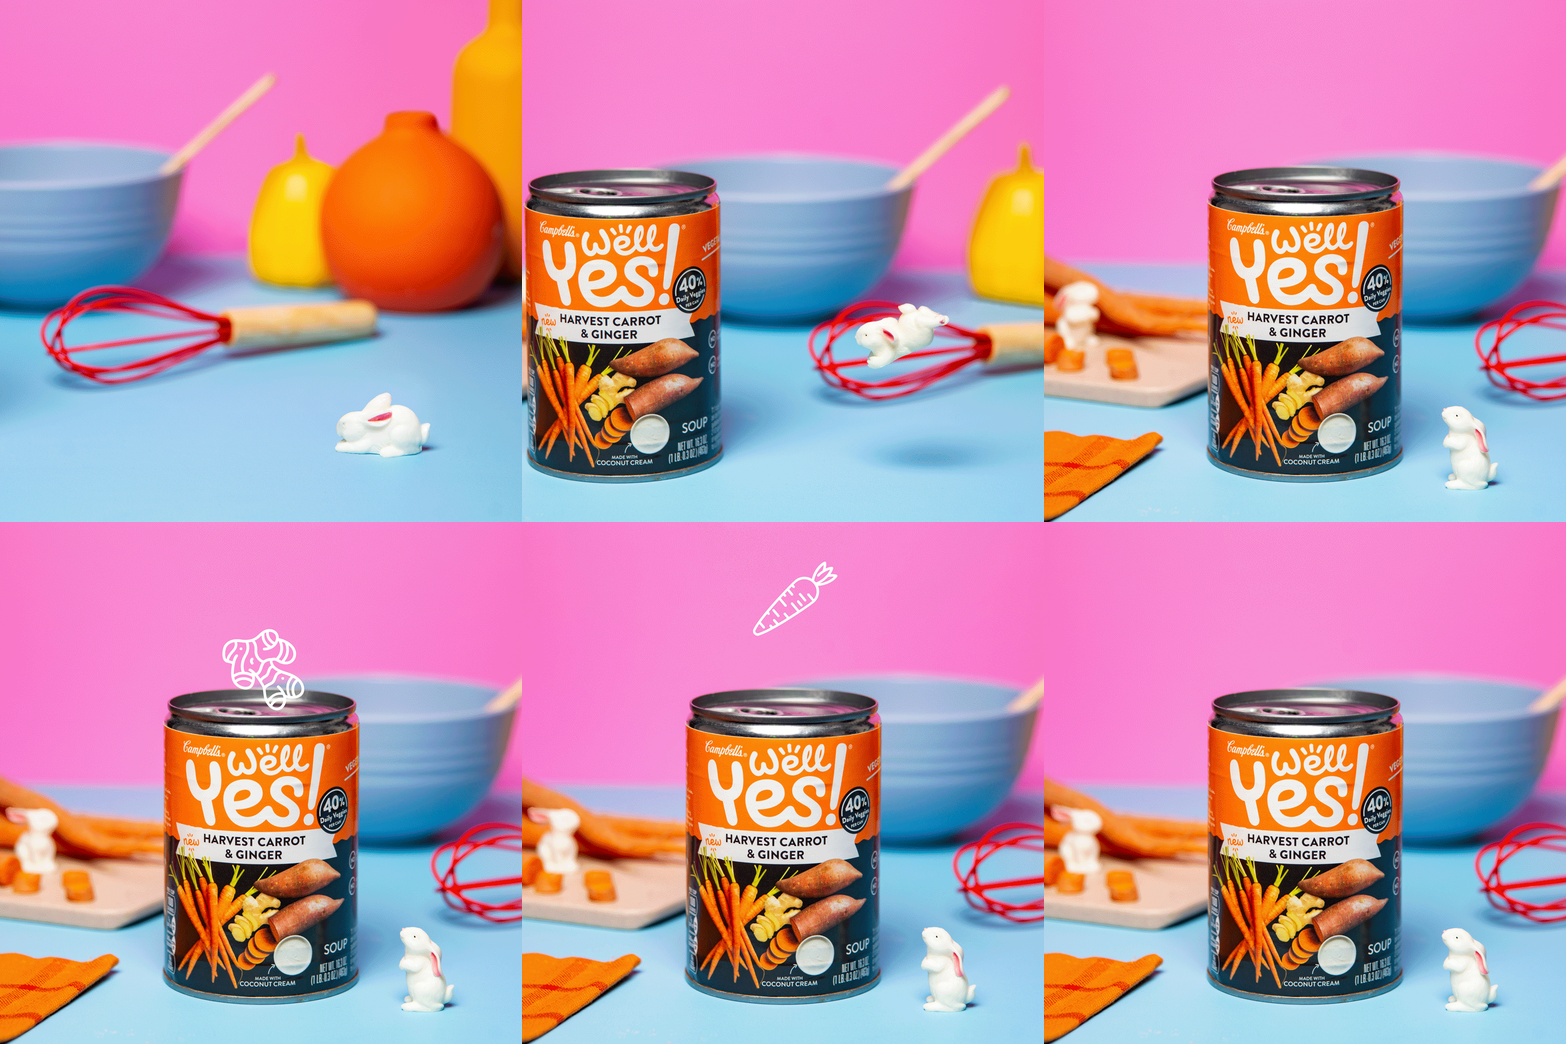
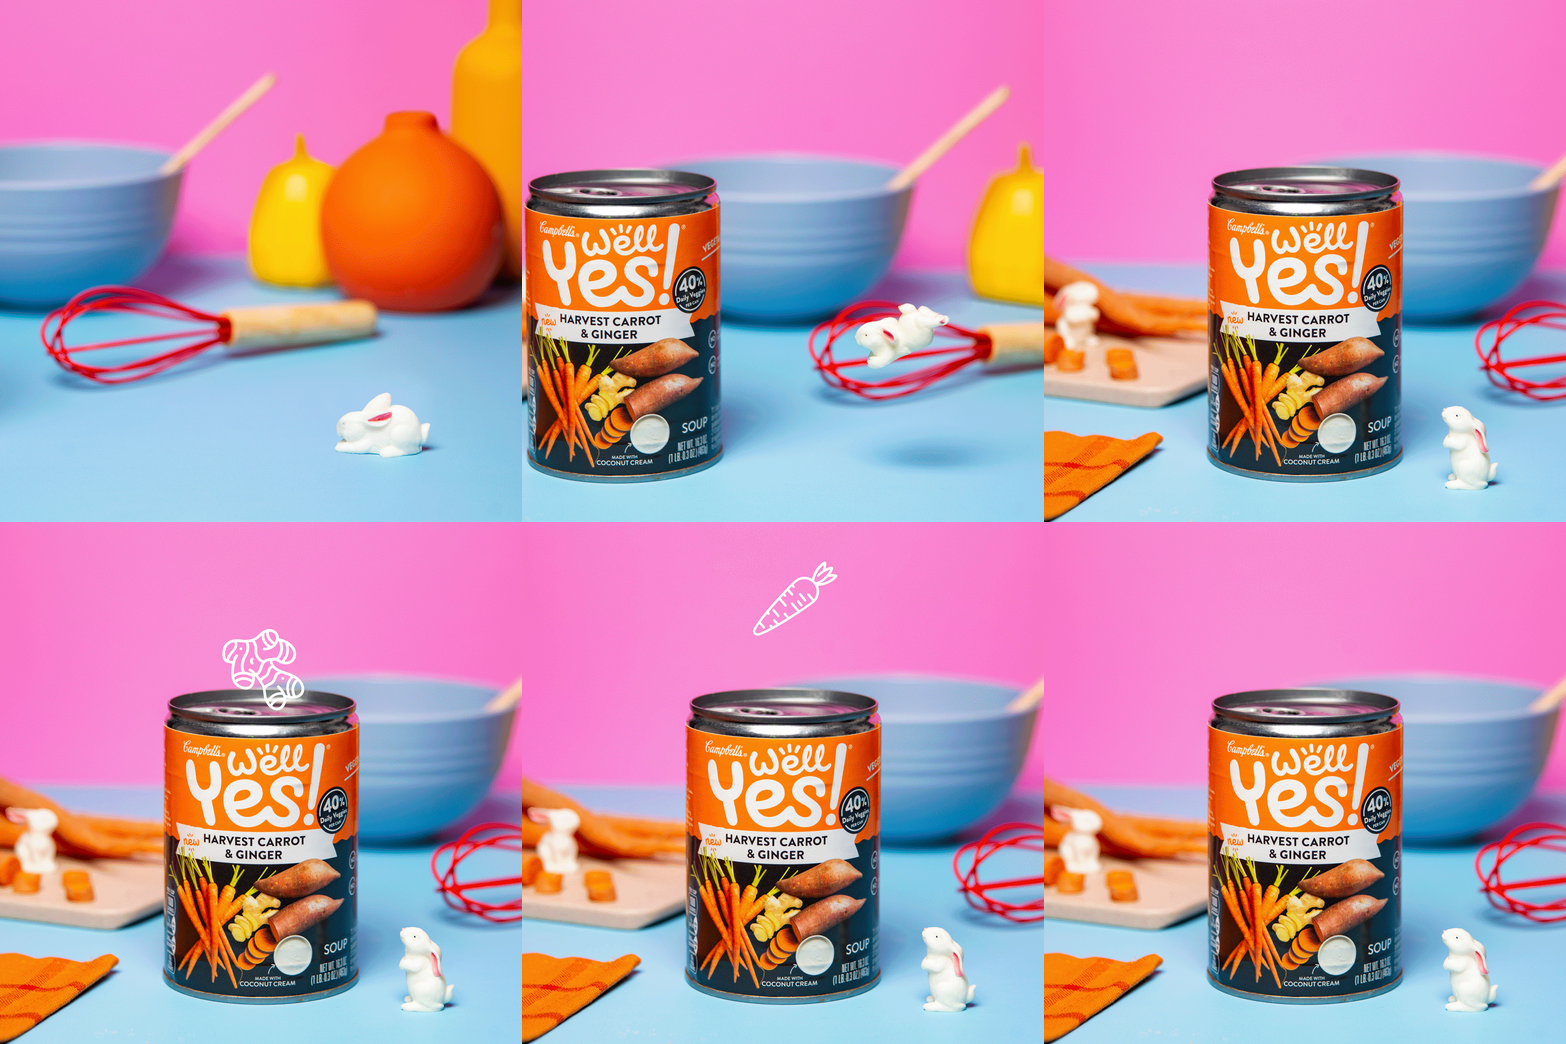
But did you know that replacement animation also has other applications besides the simple method we showed you above? In fact, we used the same technique for the animation below--but with miniature ceramic bunnies!

Now let's delve deep into replacement animation to help you unlock more creative possibilities for your stop motion projects.
Why use replacement animation?
Replacement animation is the best solution if you're working with objects that are difficult or impossible to pose.
Replacement animation is the technique that most professional animators use these days when working with puppets--specifically when animating faces. Why? Because resculpting your character every time you want their expression to change is quite tedious. But with replacement animation, all you have to do is swap out one facial expression with another, and you're done!
If you're wondering how animators make changing facial expressions possible, take a look at the clip below:
The replacement faces you see in the GIF above are for a character in the movie Paranorman!
How does replacement animation work, anyway?
We have already told you the basic concept of replacement animation. But we want to show you firsthand how this technique works using... ping pong balls with faces!

To create the animation you see below, we simply switched one ball with another between frames. That way, we could record the "facial" expressions changing throughout the clip.

Since the balls were the same color, shape, and size, it appears as if we only used one ball the entire time.
Now Let's Use Replacement Animation to Create a Short Stop Motion Clip!
The miniature rabbits we used for this project were ceramic, so they weren't posable at all. Our goal was to use several of them to create the illusion that a singular rabbit was jumping towards a carrot soup can.

First, we arranged the rabbits in the order we were going to use them.
We didn't make the ceramic models ourselves, so we had to look at each rabbit and figure out their order according to the jumping sequence.

The first in line was a sitting rabbit. The next one was a rabbit that looked like it was about to pounce. From there, we just chose positions that made the rabbit appear to be jumping.
For the "jumping" rabbits, we hot-glued aluminum rods to their sides to connect them to our armatures. That way, there would be something to support them while they were posing in the air. (This step isn't necessary at all if your project doesn't involve mid-air shots.)

Once we finalized the order of the miniature rabbits, we started animating!
All we had to do was to keep replacing the rabbits after each frame. We used a needle attached to an armature as a reference point (pun intended) to make sure we were placing our rabbits at the same spot every time. We adjusted the position of our replacement rabbit until its tail aligned with the needle.

For the jumping shot, all we had to do was attach our jumping rabbits to the stop motion rig via the rods hot-glued to their bodies.

To ensure our pacing was precise, we used Dragonframe's Onion Skin feature. That way, we could see where the rabbit was in the previous frame and where it should be in the next frame.

Using replacement animation, we did the entire shoot in about an hour. Now, imagine if we had to resculpt and pose the rabbit every time we moved it? That process would have taken us at least half a day!
What are the cons of replacement animation?
In theory, you can create an animation entirely using replacement animation. But its main setback is you'll need to use so many versions of one item when shooting.

To animate our rabbit GIF, we had to use six ceramic rabbits altogether. And that's even too few as compared to typical animations using this process. Most large productions use thousands of replacement parts for commercials and movies!
Due to the sheer amounts of components required by replacement animation, sometimes it's way more convenient (and even faster) to move an object bit by bit instead of replacing it between frames.
Conclusion:
If you're used to the traditional pose-shoot method, you'll find replacement animation to be a strange concept at first. But once you try it, you'll see how much it will make your life easier in certain situations.
Remember that replacement animation isn't just for puppets. You can use it with traditional products, too! As long as you have multiple items at your disposal, you can use this technique without any issues at all! So go ahead and try it!