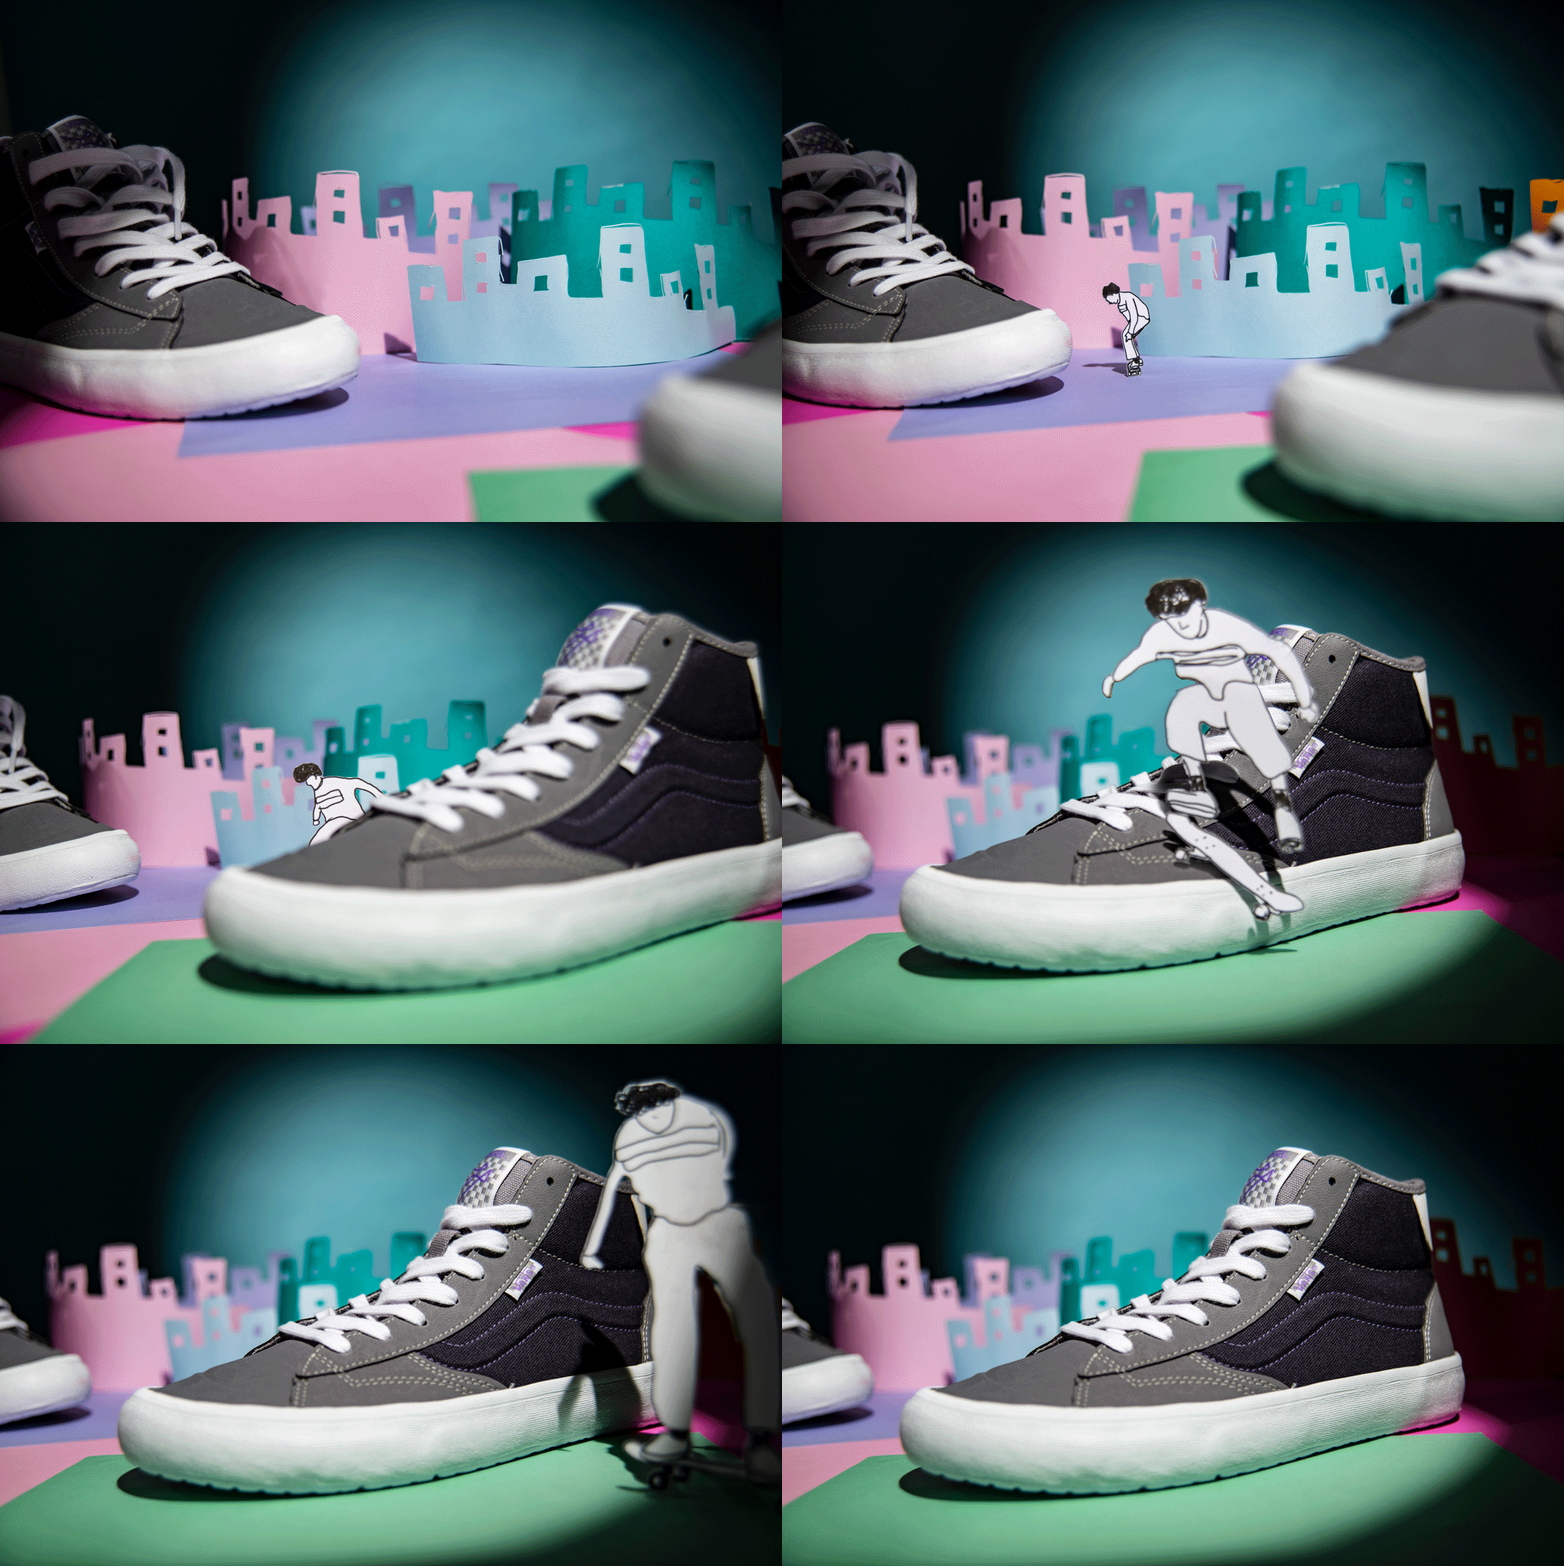
Earlier, we taught you how to create papercraft/cutout animation and did a creative experiment with rotoscoping.
For this month's creative experiment, we figured we'd combine the two techniques to create the result which you see below:

Creating cutouts using rotoscoping techniques isn't a new idea. You can even watch a great example of this method in this mesmerizing Tulipa Ruiz music video below:
But we were curious about just how complex the process can be and how attainable it would be for regular animators. So we decided to create a video that features rotoscoped cutouts, and well... you'll be surprised how (relatively) easy it is to do!
So how was the rotoscoped papercraft animation experience?
Now don't get us wrong. This type of animation is still challenging to do if you're a total beginner. But if you know the concepts behind cutout/papercraft animation and rotoscoping, you'll find the process easier to execute.
We found that animating rotoscoped cutouts itself is the easiest part. But pre-production is the most time-consuming and labor-intensive. We spent three days rotoscoping a live video for this two-second clip, cutting out the individual pieces, and preparing them for the shoot.
So what was the entire process like? Let's find out more below!
Rotoscoping the live video
Our concept involved a skateboarder kickflipping over a Lizzie Amaranto Vans Shoe. So we decided to film a friend doing the trick at the skatepark.

Since we were rotoscoping the video, we knew our model didn't need to jump over a giant shoe or any high obstacles since we could easily fill those in once we start animating.
We also didn't do anything special as far as filming was concerned. We simply shot the footage at 24 frames per second to ensure it matched our intended frame rate for the animation.
Rotoscoping The Footage
In our opinion, rotoscoping the video clip was the most difficult and the most labor-intensive.
First, we converted the video file into a series of still frames (learn how to do it in this article).
After conversion, we found out we had 55 frames total, which meant we had to rotoscope 55 individual images.

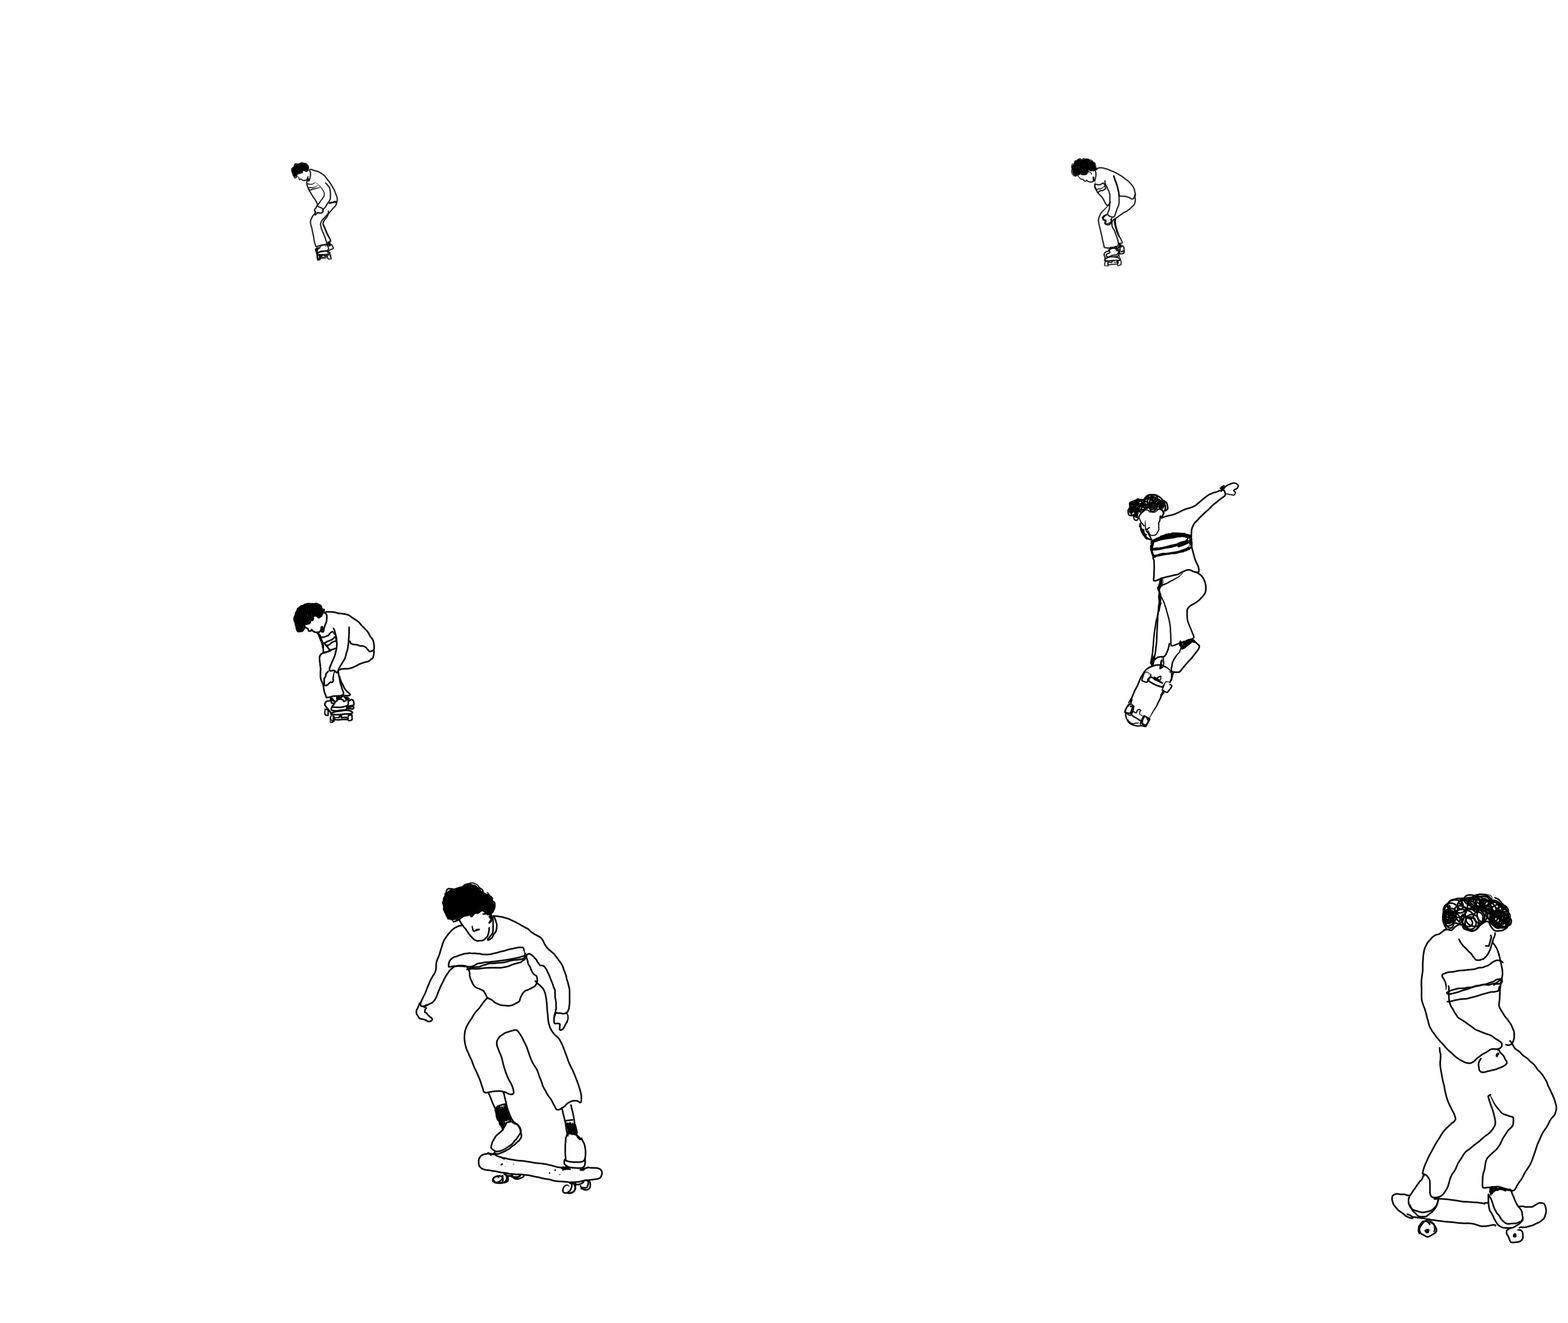
Once we got all the individual frames, we loaded them one by one in Photoshop and used the Paint tool to trace the outlines (you'll learn more about this process in our rotoscoping tutorial). After finishing one frame, we loaded the next one and continued the process until we finished all 55 images.
Note that there are so many ways to rotoscope footage. The simplest approach is to just trace the object. But you can also add colors and embellish the thing you're tracing if you want.
The shoe we wanted to feature in our animation was primarily grey and black. So we decided to trace our skater in black ink in Photoshop to keep the focus on the product.
Cutting and Preparing The Rotoscoped Figures
This part would have been the most challenging for us if we had to cut the pieces individually with X-acto knives.
But since we used Cricut, it only took us about an hour to cut and separate all the pieces.

The more complicated part was to make them all stand up. Initially, we tried gluing cardboard pieces behind the figures to prop them up.

But ultimately, we used blue tack to make the cardboards better stick to the surface of our shooting table.
Animating The Cutouts
The shoot took us two hours simply because the cutouts were quite delicate. Mishandling the figures could easily cause them to warp, so we had to place them carefully on our shooting table.

But apart from carefully handling the cutouts, animating the whole clip was pretty easy since we used the replacement animation technique. In other words, we didn't have to move individual parts of the cutouts to make them appear to move. Instead, we replaced one figure with another in a different position.
The most challenging part of animating the cutouts was when we had to use rigs to make the cutout figures appear jumping in the air. We had to use a rig for the skateboarder and another for the skateboard. (learn more about animating with rigs in this article).

In the editing stage, we digitally removed the rigs to make our cutout skateboarder appear to be jumping on his skateboard.
Even though we rotoscoped 55 frames, we only ended up using 22 since we didn't have enough space to use all those frames to get from one side of the frame to the other. Regardless, we're quite surprised that the result still looks smooth and realistic.
Was rotoscoped papercraft animation worth it?
Rotoscoped cutout animation offers a unique take on stop motion. Since you can see the imperfections in the cutouts, you can tell it wasn't made with computer graphics. But at the same time, the movements are so smooth that it makes you question how it was all made.
Sure, rotoscoped cutout animation takes a lot of time to prepare. But we have to say that this project has been one of our top favorites so far because it looks good. If you're patient with cutouts, we guarantee you'll have the same magical results!