Some of you may already know this, but yes, animating in reverse is a thing. In fact, this technique can save you a lot of time when doing complex animations in certain situations.
Now, what would those situations be, you ask? We'll give you some compelling points that will make you want to try this technique for your next project.
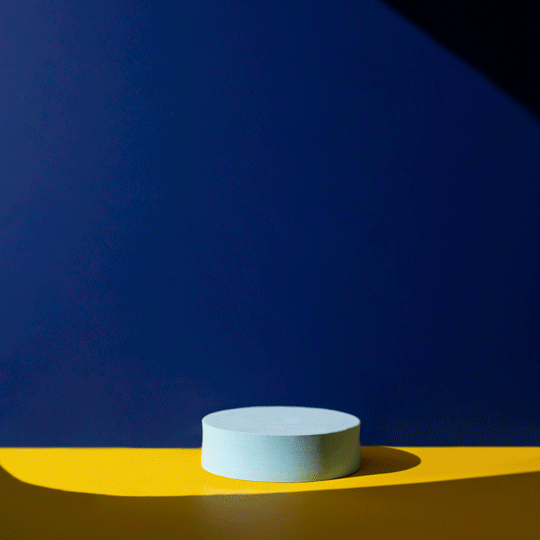
REASON 1: You need to create a complex pattern that's difficult to arrange.
For those of you who've read this article, then you probably recognize this GIF below:

Patterns can be challenging to animate traditionally because they need to be perfectly aligned. Even the best animator will have difficulty figuring out the exact spots of each object within the pattern.
When animating patterns, it's easier to arrange the objects into the formation you want first. That way, you can ensure that everything is aligned correctly.
Once you finish the pattern, you can then rearrange the objects however you want frame by frame.
In the editing mode, all you have to do is reverse the order of the frames, and you'll end up with objects slowly forming a neat pattern!
REASON 2: Your product needs to be in a specific spot.
Another reason to try animating in reverse is if you need your animated objects to be in specific spots in the last frame. Pretty much the same concept as our Reason 1, but this time, you don't have to use patterns at all.
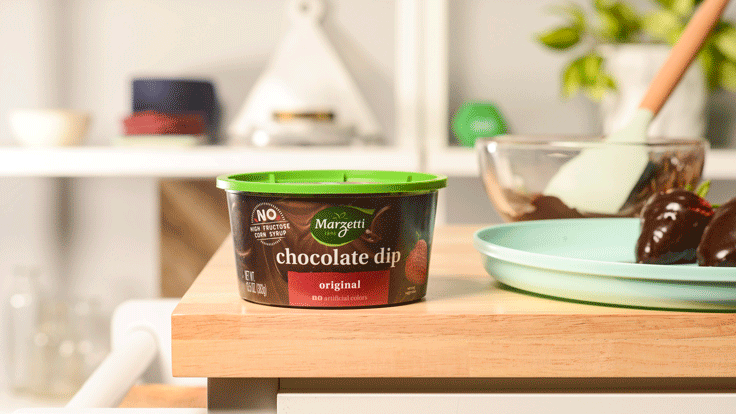
Let's use the animation above as an example. As you can see, each chocolate-covered strawberries fit merge perfectly as they move on the plate. That's because we arranged them together at first, then slowly separated them frame by frame.
Of course, you can always animate this sequence the traditional way. But unless you're a master animator, it can be hard to know if all the strawberries would fit together at the end of the shot.
If you find yourself in a similar situation, you can place all the pieces in their final positions and start animating in reverse to make things easier for you. That way, you can make sure that everything fits together precisely once you playback your animated clip.
REASON 3: You need to dismantle the object you're animating.
As you suspect, we did the animation below by animating in reverse.
To make it possible, we had to cut the flower pieces then took a shot. We then reversed the sequence to make it look like it was growing.
If we animated the flower "growing" the usual way, we would have had to cut it in pieces and painstakingly reassemble it frame by frame.
Of course, animating in reverse doesn't only apply to flowers. It applies to about anything that you'll need to disassemble or destroy while animating.
So if you need to cut up something into pieces, this is the best route to take!
So how do you animate in reverse?
Animating in reverse is straightforward if you're not using any animating programs. All you have to do is capture an action frame by frame, except the sequence will be in reverse.
But what if you're animating and editing with Dragonframe, Photoshop, and Premiere? We'll show you the settings you need to use to make working backwards easier for you.
Dragonframe
So how do you work in reverse if you're animating with Dragonframe? Well, you have two options.
If you're sure you want to shoot in reverse, all you have to do is click Capture in the Menu Bar and select Shoot in Reverse. Dragonframe then automatically rearranges the frames for you as you're animating. To be clear, you still have to shoot in reverse using this motion. But the program play automatically plays it back the normal way to make it easier for you.

And what if you animated normally but wonder how your sequence would look like in reverse? Then you can click Playback in the Menu Bar and select Reverse. The program will then play your clip in reverse.

Adobe Photoshop
Honestly, we barely use the Shoot Reverse function in Dragonframe unless we're doing complex animations that require us to ensure our sequence is correct.
In most cases, we invert the sequence in Adobe Photoshop when arranging our animation.
To reverse our sequence, all we have to do is click the icon in the timeline with the four lines and click Select All Frames.

We click the icon again and select Reverse Frames. Photoshop then adjusts everything, so it plays back in the correct sequence!
If you don't know how to use Photoshop to create stop motion, you can read this helpful article here.
Adobe Premiere
Alternatively, you can create your animation exclusively in Premiere, so you don't have to go through the hassle of using several programs.
To reverse your animation, all you have to do is right-click your clip. Next, go to Speed Duration and select Reverse Speed. That's it!

Please read our tutorial here if you don't know how to edit animation with Adobe Premiere.
Animating in reverse may be a helpful technique, but beware that it can be pretty confusing as well since everything is, well, in reverse! So when you try this technique, take your time and plan out your shoot carefully before proceeding.
Just do the exact opposite of the movement you want your product to go to keep everything simple. For instance, if you want your main subject to slide up, you slide it down. If you want it to go right, then you go left.